
Yield: 3" = 18 Muffins ... or ... 4" = 10 Muffins
Fresh Milled English Muffins (yeast)

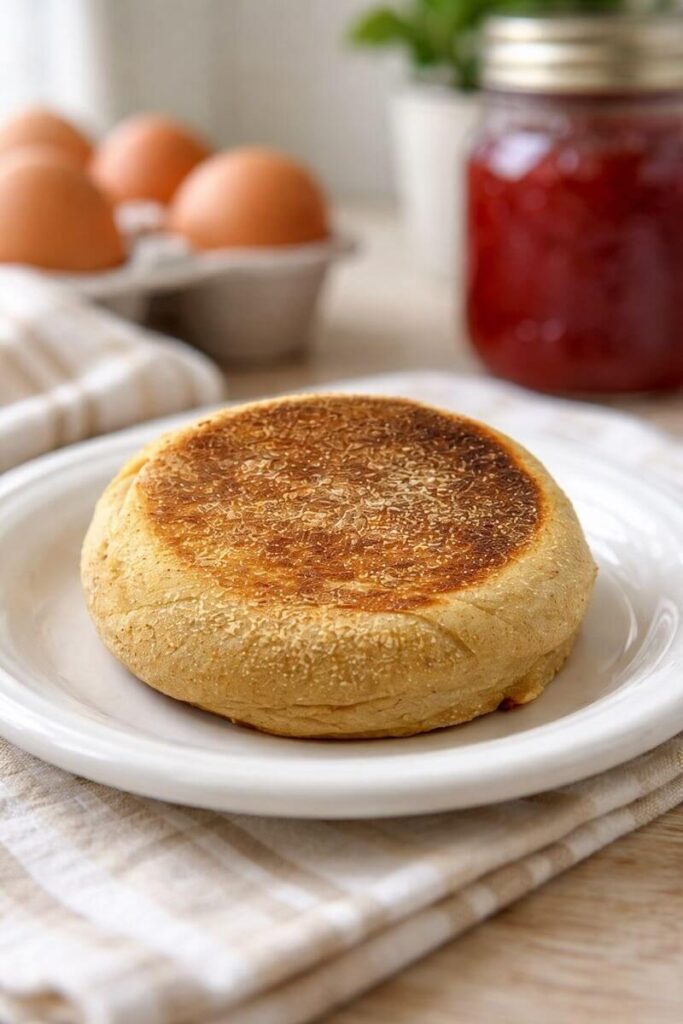
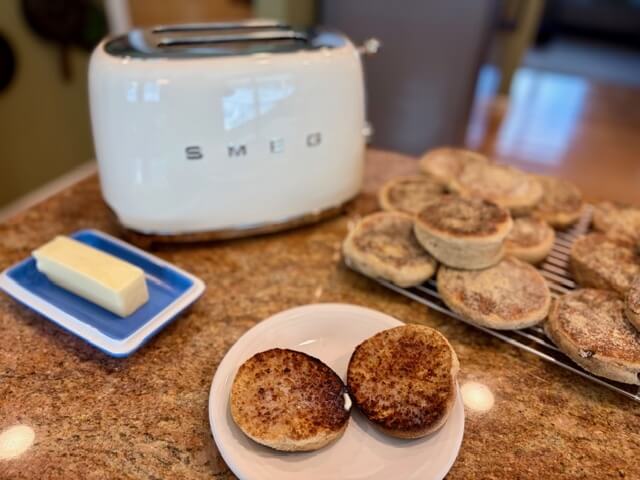
These english muffins are made with freshly ground flour ... Expect nooks. Expect crannies. Expect obsession.
Ingredients
- 1½ cups (430 g) milk
- 1 cup (240 g) water
- ¼ cup (85 g) honey
- 4 tsp active dry yeast
- 4 cups (840 g) hard white (or red) wheat berries, finely ground
- 6 tbsp (85 g) butter, melted
- 2 tsp (12 g) salt
- cornmeal or semolina, for dusting
Instructions
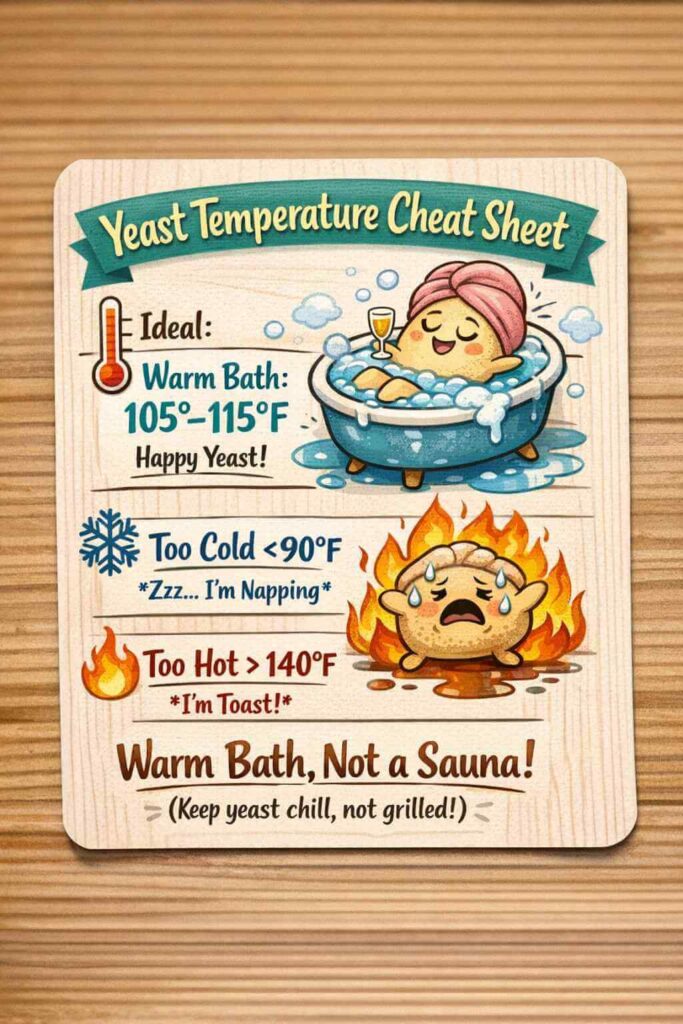
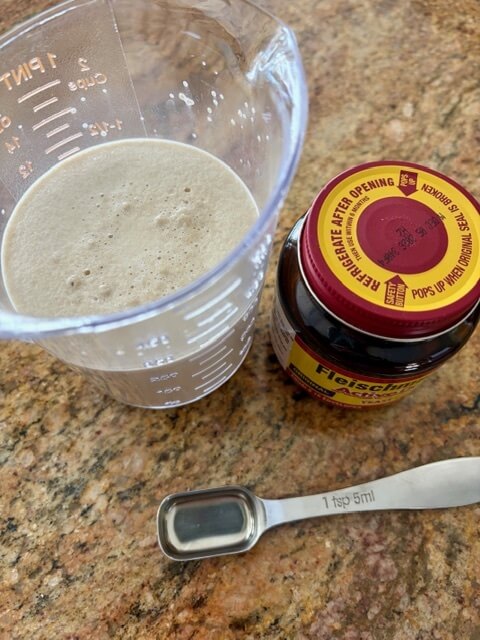
- Activate the Yeast: Combine milk, water, and honey in a glass measuring cup. Warm to 110° (think warm bath, not hot tub ... for me this was 2½ minutes at 50% power in the microwave). Stir in the yeast and let it hang out for 5 minutes, until foamy and alive. (1½ cups milk, 1 cup water, ¼ cup honey, 4 tsp yeast)
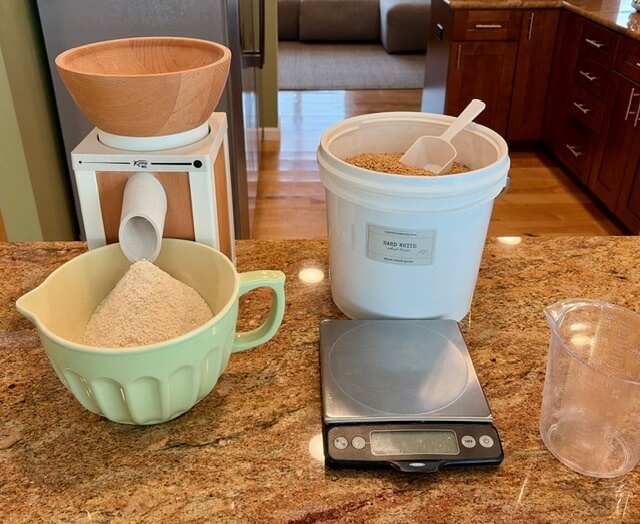
- Freshly Milled Flour: While the yeast does its thing, grind the wheat berries to a fine consistency. (4 cups hard wheat berries)
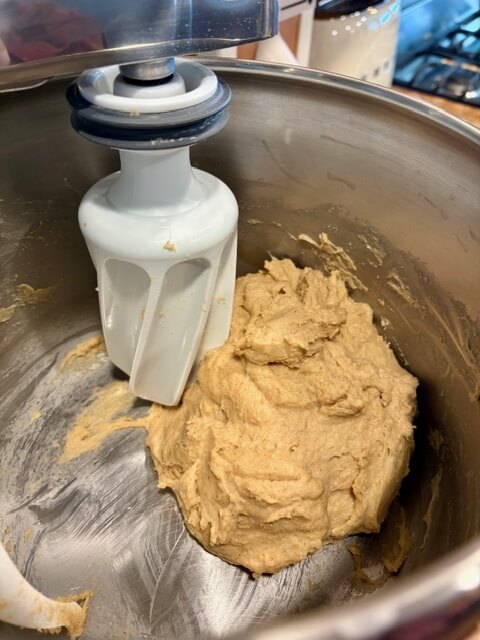
- Make the Dough: Pour the milk mixture into a mixing bowl. Mix in the melted butter. Slowly add the flour while mixing on low, then add the salt. Increase to medium and mix for about 6 minutes (we are aiming for a wet dough with a looser gluten structure). Let it rest for 20 minutes (to hydrate). Then mix it again for 6 more minutes (if the dough is miserably wet, you can add a little more flour at this point). (6 tbsp butter, 2 tsp salt)
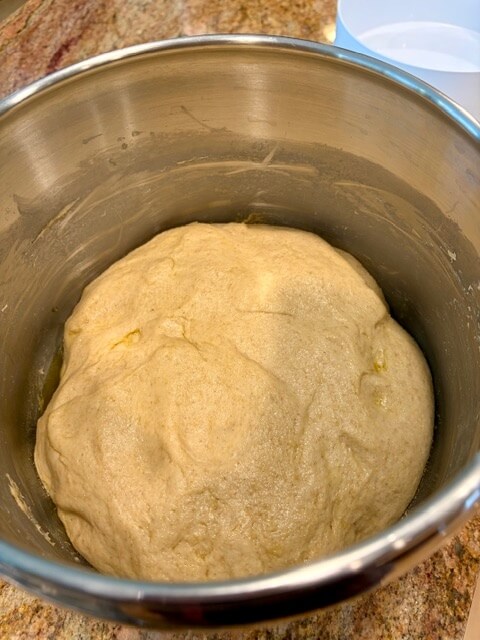
- First Rise: Lightly oil the mixing bowl, turn the dough to coat, and cover. Let rise in a warm spot until doubled, about 1 hour. Overnight option: Refrigerate the dough before you let it rise ... when it’s go-time, bring it out of the fridge and cut (note: the second rise in step 6 will take longer).
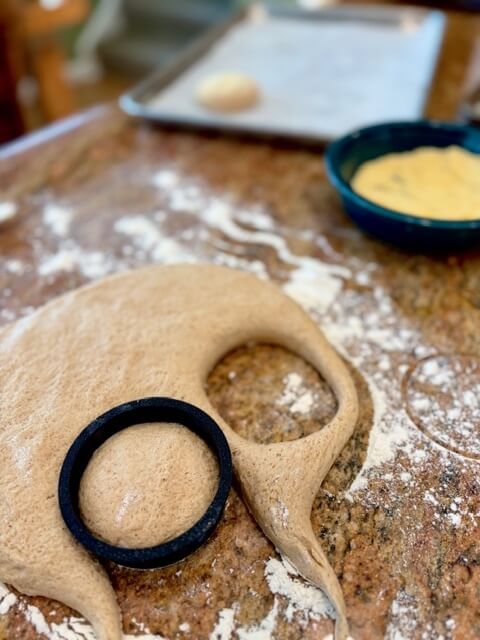
- Press, Don't Roll: Let's do some quick prep. Line two baking sheets with parchment paper, then grab a cereal bowl and add ¼ cup of cornmeal. Next, turn the dough onto a floured counter and gently pat it out to 1 inch thick, keeping it even. No rolling pin ... those nooks and crannies are fragile little creatures.
- Ready to Cut: Cut muffins with a 3" (or bigger or smaller ... use what you've got) round cutter (greased or floured). Don't twist the cutter ... just push down. Dip the top and bottom of the muffin in cornmeal. Gently gather scraps, re-pat, and cut again (these will have fewer crannies - but still very snack-worthy). Rest on the baking sheets. Cover loosely, and let rise until puffy, about 30 minutes.
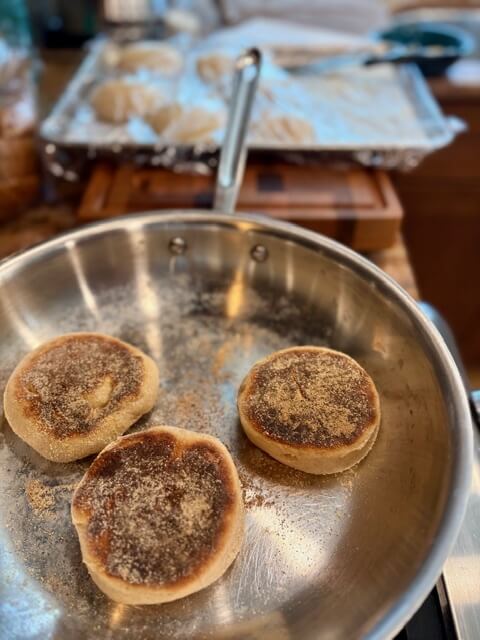
- Cook (no oven!): Heat a large skillet over medium. When it feels hot a few inches above the surface, sprinkle with cornmeal and add a few muffins. Cover (to help steam them), reduce heat to low, and cook 6–8 minutes until bottoms are golden and sides start looking dry. Flip, cover, and cook another 6–8 minutes until browned. The goal is for the internal temperature to reach 190 degrees.
- More Muffins, Same Vibes: Wipe out the old cornmeal, add a fresh sprinkle to the pan, and cook the remaining muffins. You will probably need to futz with the heat a bit as you go ... this is normal and part of the charm.
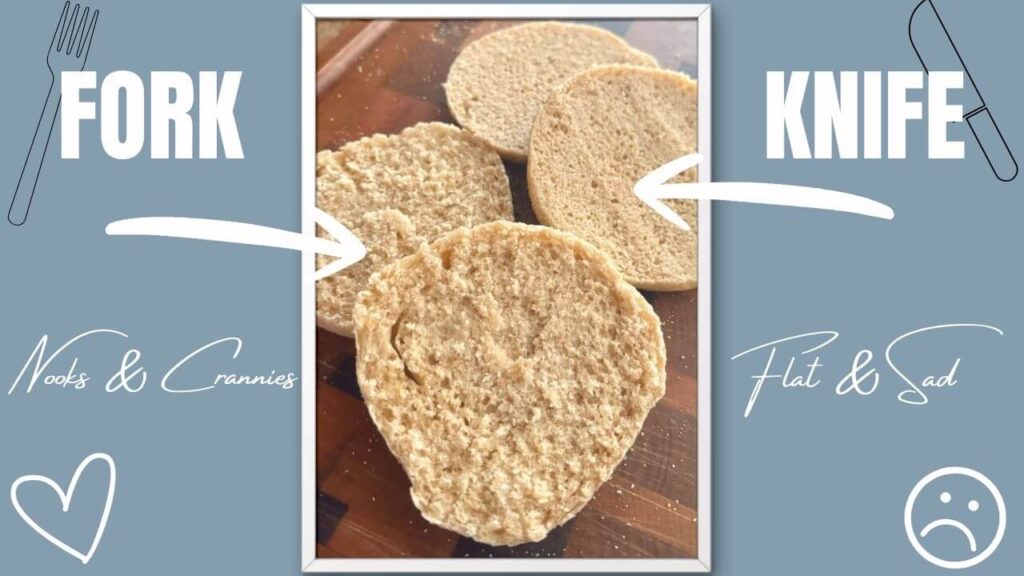
- Cool, Split, Devour: Let cool slightly on a wire rack, then split with a fork (never a knife) and enjoy every cranny-filled bite.
Notes
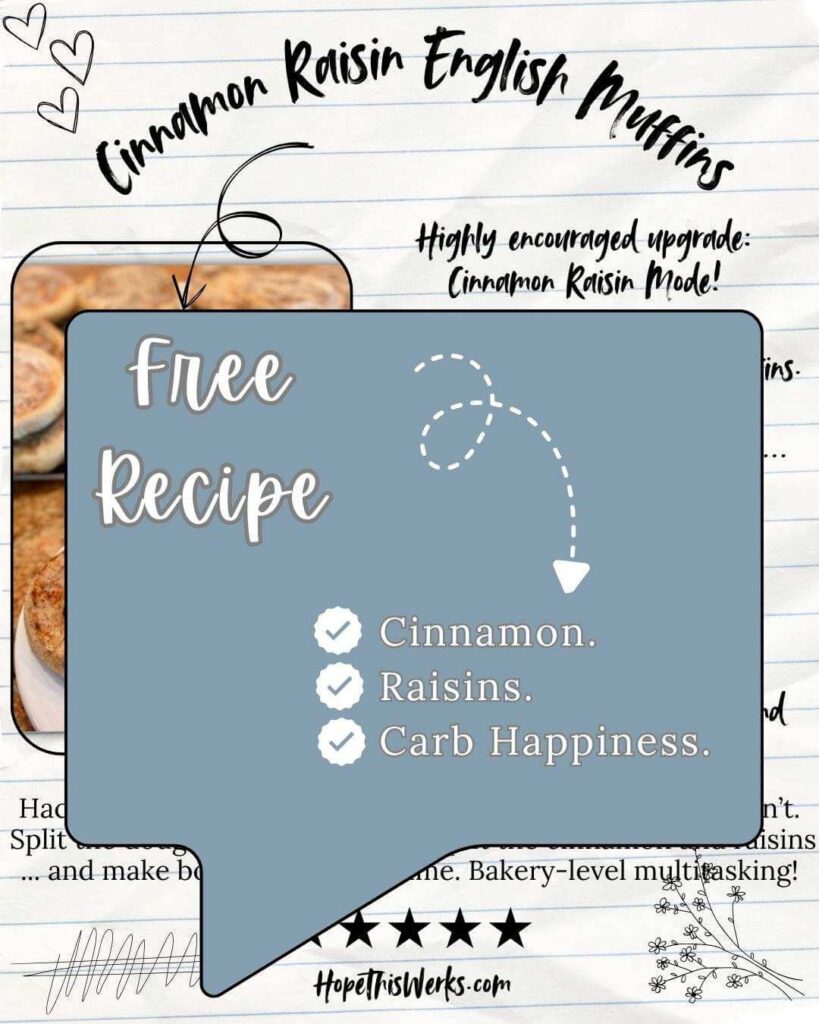
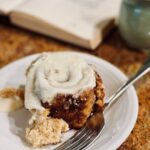
- Cinnamon Raisin: Feeling fancy? Click here for the free cinnamon raisin recipe. You won’t regret it.
- Storage: Store in an airtight container at room temp for 4–5 days. For longer storage, freeze them ... future you will be very grateful.
- Cast Iron: I love cast iron for basically everything… except these. On my gas stove, it’s hard to keep the heat low enough, so I usually grab a stainless steel pan instead.
- Overnight Method: Want fresh English muffins in the morning with minimal effort? Same. After placing the dough in an oiled bowl (see step 4), cover and refrigerate up to 10 hours. When ready, turn it out cold, press, and cut ...no warming needed. Once cut, the second rise may take longer since the dough is cold. Wait until puffy and ready to cook.
- Square English Muffins: Instead of a round cutter (in step 6), use a bench knife or kitchen scissors to cut the dough into a grid, making them your perfect size squares/rectangles.
- Uncooked Middles? If the outsides are getting nice and brown but the insides aren’t quite done, pop the muffins into a 350°F oven for 10 minutes to finish cooking the centers. Problem solved.
- Hurried (and Hungry)? Cook the english muffins in two pans at once to speed things up.
Recommended Products
As an Amazon Associate and member of other affiliate programs, I earn from qualifying purchases.


Yield: 3" = 18 Muffins ... or ... 4" = 10 Muffins
English Muffins with Store Flour (yeast)
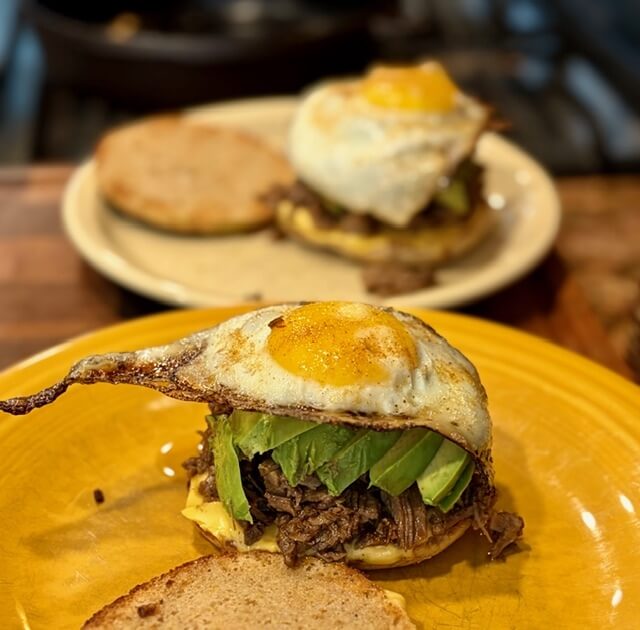
These english muffins bring nook, crannies, homemade swagger and breakfast joy! They'll have you wondering why you ever bought them in a plastic bag.
Ingredients
- 1½ cups (430 g) milk
- 1 cup (240 g) water
- ¼ cup (85 g) honey
- 4 tsp active dry yeast
- 6 cups (720 g) all-purpose flour
- 6 tbsp (85 g) butter, melted
- 2 tsp (12 g) salt
- cornmeal or semolina, for dusting
Instructions
- Activate the Yeast: Combine milk, water, and honey in a glass measuring cup. Warm to 110° (think warm bath, not hot tub ... for me this was 2½ minutes at 50% power in the microwave). Stir in the yeast and let it hang out for 5 minutes, until foamy and alive. (1½ cups milk, 1 cup water, ¼ cup honey, 4 tsp yeast)
- Flour: All-purpose is perfect here ... you don’t want the strong gluten that bread flour brings to the party. (6 cups flour)
- Make the Dough: Pour the milk mixture into a mixing bowl. Mix in the melted butter. Slowly add the flour while mixing on low, then add the salt. Increase to medium and mix for about 6 minutes (we are aiming for a wet dough with a looser gluten structure ... if the dough is miserably wet, you can add a little more flour, a tablespoon at a time). (6 tbsp butter, 2 tsp salt)
- First Rise: Lightly oil the mixing bowl, turn the dough to coat, and cover. Let rise in a warm spot until doubled, about 1 hour. Overnight option: Refrigerate the dough before you let it rise ... when it’s go-time, bring it out of the fridge and cut (note: the second rise in step 6 will take longer).
- Press, Don't Roll: Let's do some quick prep. Line two baking sheets with parchment paper, then grab a cereal bowl and add ¼ cup of cornmeal. Next, turn the dough onto a floured counter and gently pat it out to 1 inch thick, keeping it even. No rolling pin ... those nooks and crannies are fragile little creatures.
- Ready to Cut: Cut muffins with a 3" (or bigger or smaller ... use what you've got) round cutter (greased or floured). Don't twist the cutter ... just push down. Dip the top and bottom of the muffin in cornmeal. Gently gather scraps, re-pat, and cut again (these will have fewer crannies - but still very snack-worthy). Rest on the baking sheets. Cover loosely, and let rise until puffy, about 30 minutes.
- Cook (no oven!): Heat a large skillet over medium. When it feels hot a few inches above the surface, sprinkle with cornmeal and add a few muffins. Cover (to help steam them), reduce heat to low, and cook 6–8 minutes until bottoms are golden and sides start looking dry. Flip, cover, and cook another 6–8 minutes until browned. The goal is for the internal temperature to reach 190 degrees.
- More Muffins, Same Vibes: Wipe out the old cornmeal, add a fresh sprinkle to the pan, and cook the remaining muffins. You will probably need to futz with the heat a bit as you go ... this is normal and part of the charm.
- Cool, Split, Devour: Let cool slightly on a wire rack, then split with a fork (never a knife) and enjoy every cranny-filled bite.
Notes
- Cinnamon Raisin: Feeling fancy? Click here for the free cinnamon raisin recipe. You won’t regret it.
- Storage: Store in an airtight container at room temp for 4–5 days. For longer storage, freeze them ... future you will be very grateful.
- Cast Iron: I love cast iron for basically everything… except these. On my gas stove, it’s hard to keep the heat low enough, so I usually grab a stainless steel pan instead.
- Overnight Method: Want fresh English muffins in the morning with minimal effort? Same. After placing the dough in an oiled bowl (see step 4), cover and refrigerate up to 10 hours. When ready, turn it out cold, press, and cut ...no warming needed. Once cut, the second rise may take longer since the dough is cold. Wait until puffy and ready to cook.
- Square English Muffins: Instead of a round cutter (in step 6), use a bench knife or kitchen scissors to cut the dough into a grid, making them your perfect size squares/rectangles.
- Uncooked Middles? If the outsides are getting nice and brown but the insides aren’t quite done, pop the muffins into a 350°F oven for 10 minutes to finish cooking the centers. Problem solved.
- Hurried (and Hungry)? Cook the english muffins in two pans at once to speed things up.
Recommended Products
As an Amazon Associate and member of other affiliate programs, I earn from qualifying purchases.


4 responses to “Fresh Milled English Muffins with Yeast (or store flour)”
I can confirm that these are exactly what you want them to be! Delicious! Thank you for such a great recipe with crannies and all!!
Yay! I’m so glad the crannies delivered. Enjoy every buttery, jam-filled nook!
A morning staple “made better”
I love the idea of making them myself.
Actually any excuse to have melting butter 😁
Right?! If “made better” means warm muffins + unapologetic amounts of melting butter … I’m fully on board!