

Yield: 2 single crusts
Pie Crust with Fresh Milled Flour
5.0 Stars (1 Review)
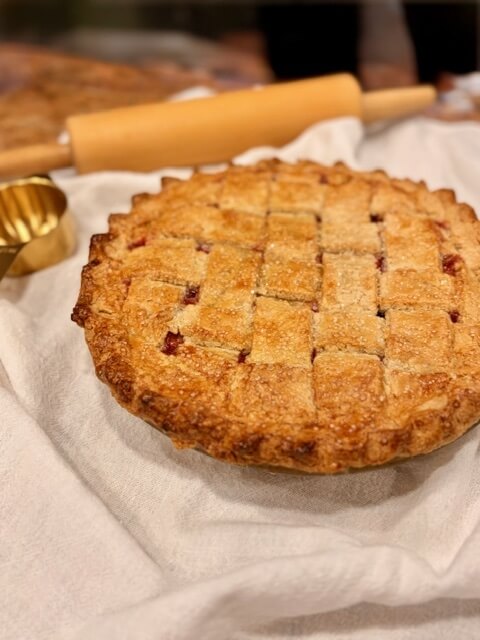
Flaky, buttery, and just a little bit extra (in the best way), this fresh milled flour pie crust brings big, homemade energy. It’s tender, flavorful, and sturdy enough to hold all that juicy filling without falling apart.
Ingredients
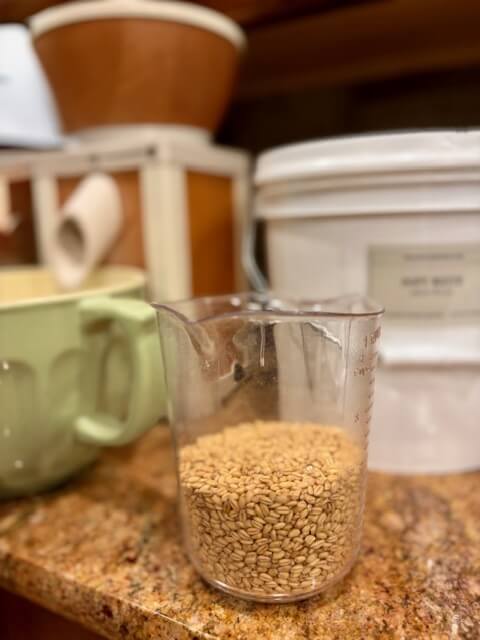
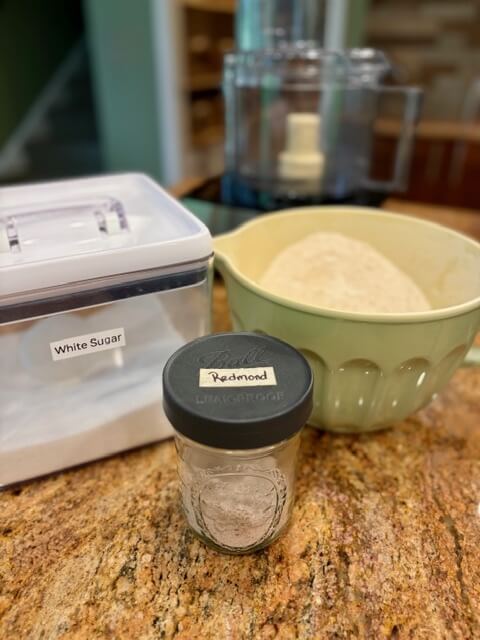
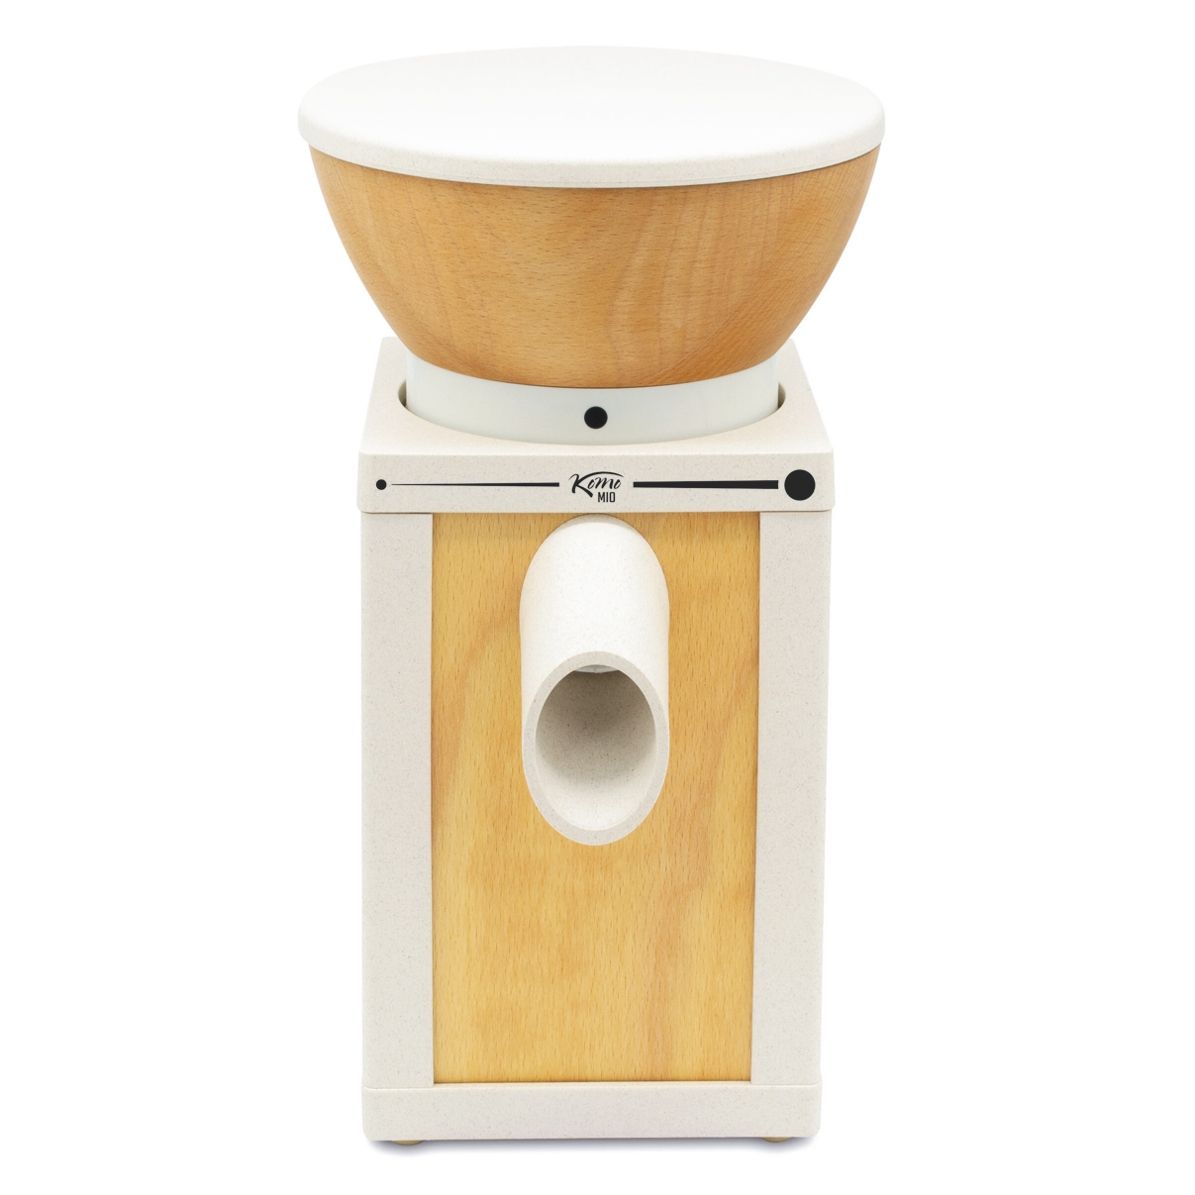
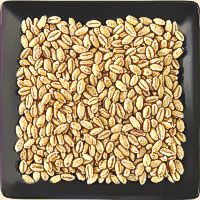
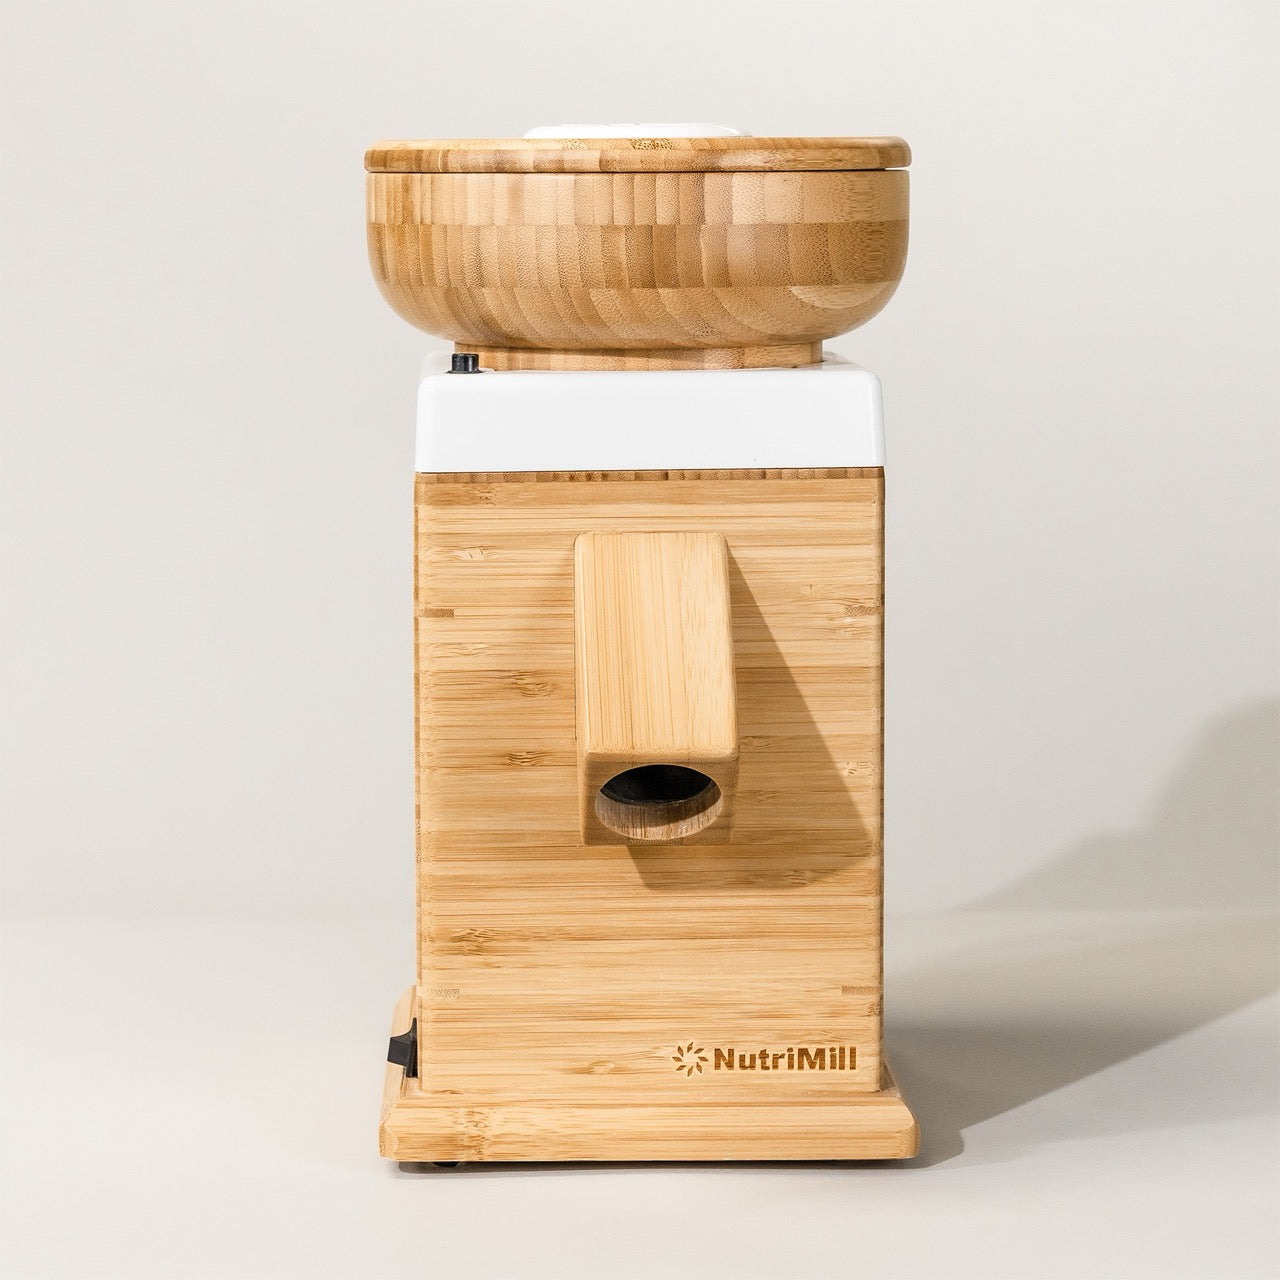
- 2 cups (375 g) soft white wheat berries, grind finely
- 1 tbsp sugar
- 1 tsp (6 g) salt
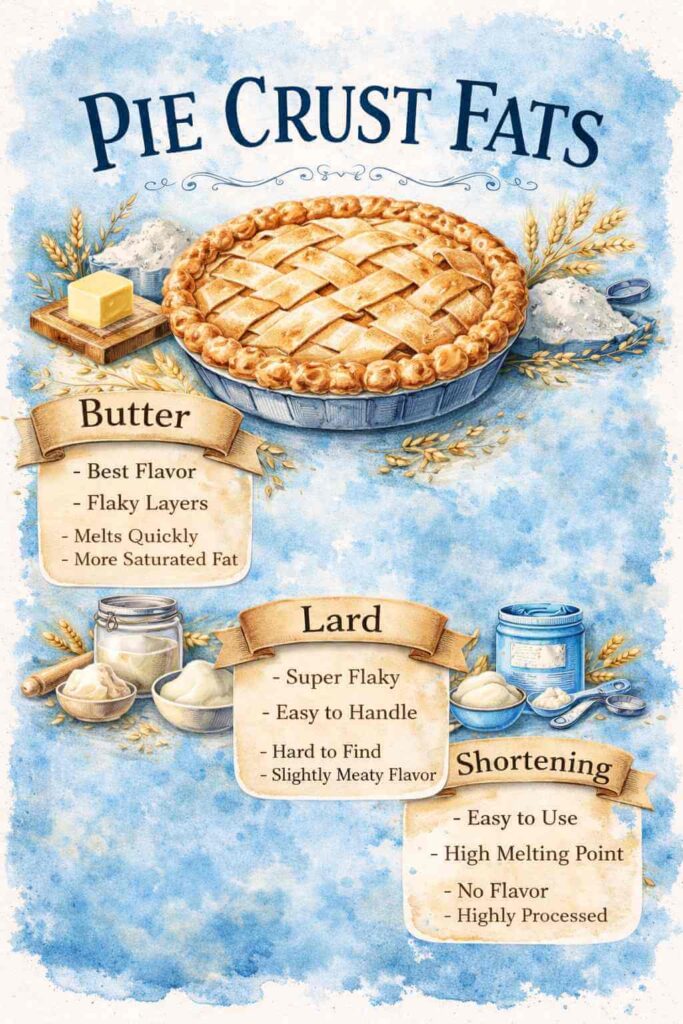
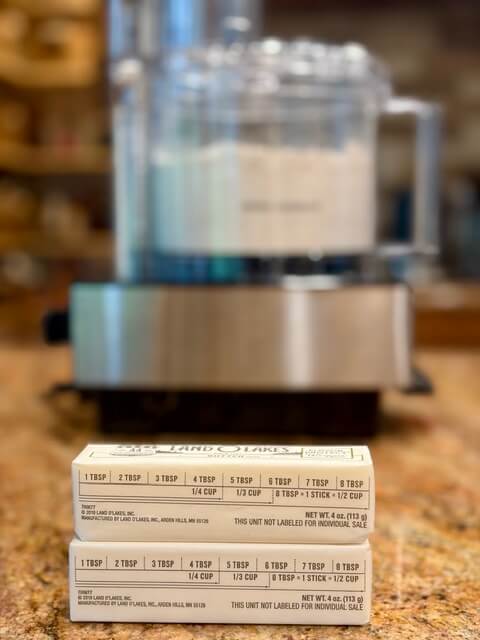
- 2 sticks (1 cup) butter, cold and cubed
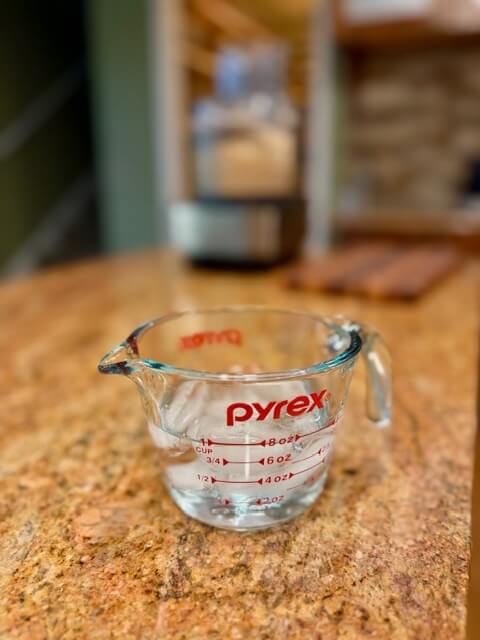
- ¼-½ cup ice water
Instructions
- Grind wheat berries into fine flour (will make about 4 cups of flour). Add flour, sugar, and salt to a food processor and pulse a few times to combine. (No processor? No problem ... use a pastry cutter or two forks.) 2 cups soft white wheat berries, 1 tbsp sugar, 1 tsp salt
- Add cold, diced butter and pulse until crumbly with a few pea-sized bits. Stop before it turns into a paste ... it should still look a little dry and powdery. 2 sticks butter
- Fill a cup with ½ cup of water and toss in some ice. Drizzle 3 tbsp of that icy water into the food processor. Let the dough rest for 20 minutes so it can hydrate and get its life together. Still looking dry? Add more ice water 1 tsp at a time. Test it: pinch some dough ... if it sticks together, you nailed it. Whatever you do ... don’t overmix!
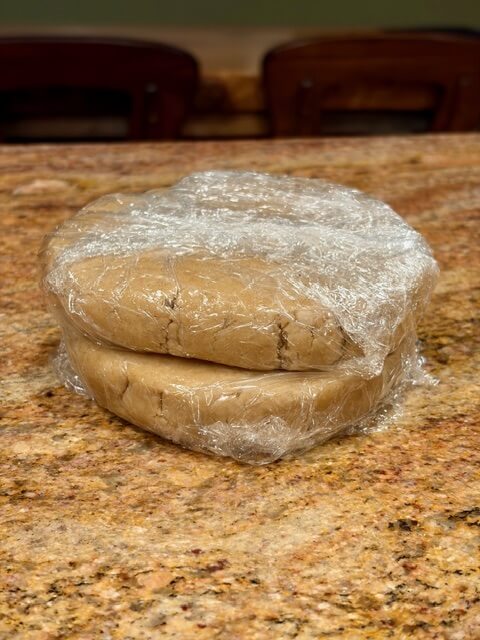
- Turn the dough onto a clean surface and gently bring it together into a ball. Fold it over itself just enough to hold. Too crumbly? Dip your fingers in ice water and keep going. It shouldn’t be smooth. Be careful not to overwork it. Divide in half, flatten into two 1-inch disks, wrap, and chill for at least 1 hour (or up to 4 days ... or freeze for later use).
- Let the wrapped dough hang out on the counter for 10 minutes ... time to relax so it rolls out without putting up a fight. Lightly flour everything ... counter, rolling pin, hands, dough, dog. Roll with gentle pressure (this dough has done nothing to you). Start from the center and roll outward, turning the dough as you go. Rotate and twist it so it doesn't stage a sticky rebellion. Add a little flour if needed.
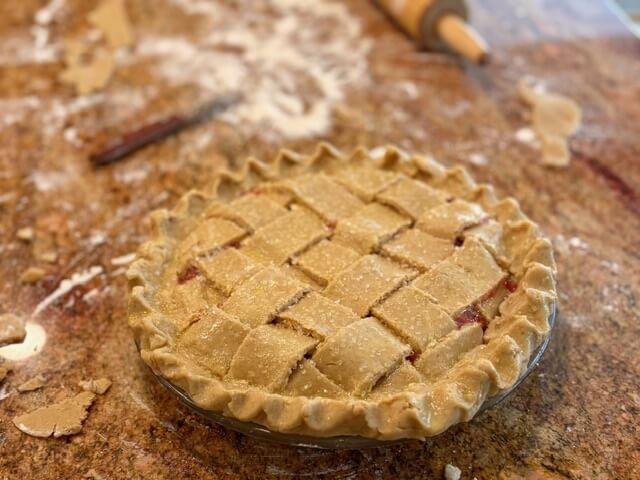
- To transfer ... roll the dough onto your rolling pin, lift it up, then gently roll it out over your pie dish like a pro.
- Finish your pie according to your recipe.
Notes
- Can I use store-bought flour instead?
Yep! It’ll still be delicious … but fresh milled flour brings the main character energy. - Why is my dough crumbly?
It’s probably thirsty. Add a tiny bit more water until it chills out. - Why is my dough sticky?
Congrats, you made glue. Sprinkle in a little flour and carry on. - Do I really need to chill the dough?
Yes. Warm dough = melty mess. Cold dough = flaky perfection. - Can I freeze this pie crust?
Absolutely. Future you will be thrilled and slightly impressed. - Pie's favorite filling?
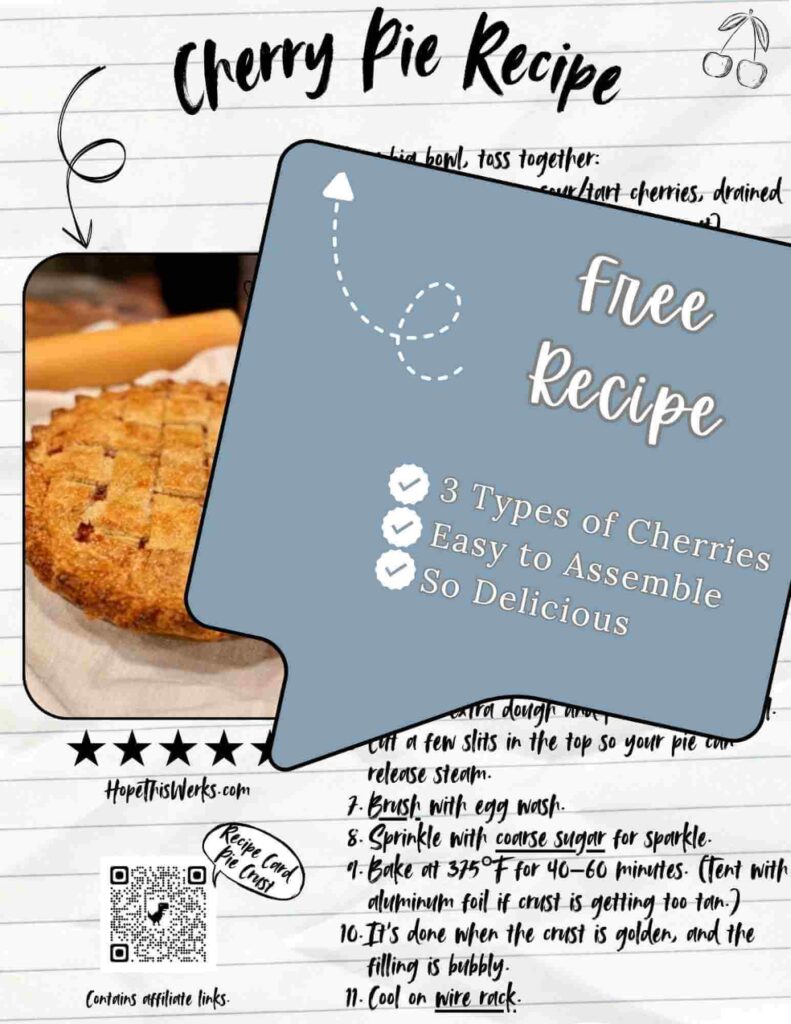
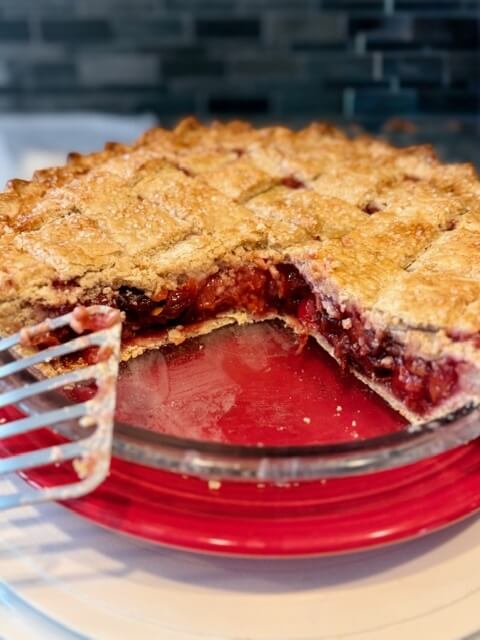
This cherry one. No contest. Click here.
Recommended Products
As an Amazon Associate and member of other affiliate programs, I earn from qualifying purchases.
Yield: 2 single crusts
Pie Crust (with Store-Bought Flour)
5.0 Stars (1 Review)
Flaky, buttery, and perfectly fuss-free, this classic pie crust proves you don’t need anything fancy to make something amazing. Made with simple store-bought flour, it’s reliable, easy to work with, and ready to hold all your delicious pie dreams together.
Ingredients
- 2½ cups (300g) all-purpose flour
- 1 tbsp sugar
- 1 tsp (6 g) salt
- 2 sticks (1 cup) butter, cold and cubed
- ¼-½ cup ice water
Instructions
- Add flour, sugar, and salt to a food processor and pulse a few times to combine. (No processor? No problem ... use a pastry cutter or two forks.) 2½ cups flour, 1 tbsp sugar, 1 tsp salt
- Add cold, diced butter and pulse until crumbly with a few pea-sized bits. Stop before it turns into a paste ... it should still look a little dry and powdery. 2 sticks of butter
- Fill a cup with ½ cup of water and toss in some ice. Drizzle 3 tbsp of that icy water into the food processor. Still looking dry? Add more ice water 1 tsp at a time. Test it: pinch some dough ... if it sticks together, you nailed it. Whatever you do ... don’t overmix!
- Turn the dough onto a clean surface and gently bring it together into a ball. Fold it over itself just enough to hold. Too crumbly? Dip your fingers in ice water and keep going. It shouldn’t be smooth. Be careful not to overwork it. Divide in half, flatten into two 1-inch disks, wrap, and chill for at least 1 hour (or up to 4 days ... or freeze for later use).
- Let the wrapped dough hang out on the counter for 10 minutes ... time to relax so it rolls out without putting up a fight. Lightly flour everything ... counter, rolling pin, hands, dough, dog. Roll with gentle pressure (this dough has done nothing to you). Start from the center and roll outward, turning the dough as you go. Rotate and twist it so it doesn't stage a sticky rebellion. Add a little flour if needed.
- To transfer ... roll the dough onto your rolling pin, lift it up, then gently roll it out over your pie dish like a pro.
- Finish your pie according to your recipe.
Notes
- Why is my dough crumbly?
It’s probably thirsty. Add a tiny bit more water until it chills out. - Why is my dough sticky?
Congrats, you made glue. Sprinkle in a little flour and carry on. - Do I really need to chill the dough?
Yes. Warm dough = melty mess. Cold dough = flaky perfection. - Can I freeze this pie crust?
Absolutely. Future you will be thrilled and slightly impressed. - Pie's favorite filling?
This cherry one. No contest. Click here.


4 responses to “Fresh Milled Flour Pie Crust: Easy, Buttery & So Good (or store flour)”
I am pumped about trying the all butter pie crust. I have been a lard fan for years—and you are correct, the flakiness is second to none, but time for a change. Now for the perfect filling. Okay, so maybe someone will hand a big bunch of rhubarb soon, since it is the season. When I get some, I will be on a mission. Don’t like rhubard? That’s okay, I can manage a whole pie all by myself!
Butter convert loading … if rhubarb shows up, its destiny!
I always made my crust with lard. This recipe is so much better. The butter makes it amazing.
I respect the lard era… but butter definitely came in and stole the spotlight 😄 So happy you loved it!