


Yield: 9 Big Fudgy Brownies
Brownies with Freshly Milled Flour

These brownies are deeply chocolatey, perfectly fudgy, and just healthy enough that you have absolutely no regrets.
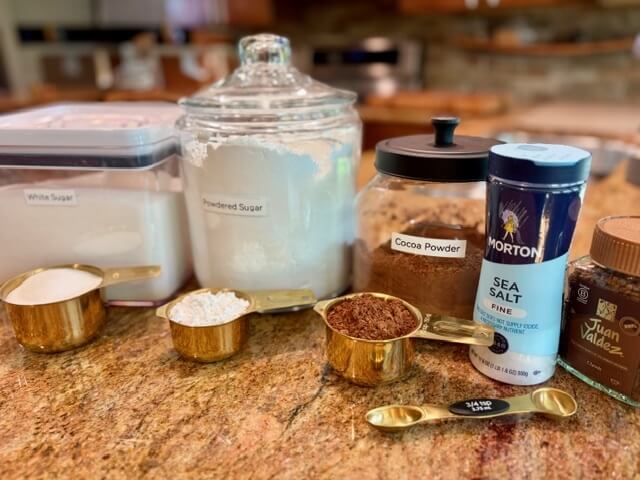
Ingredients
- 2 large eggs, room temperature
- ¼ cup (48g) coconut oil (melted) and ¼ cup (48g) olive oil (substitute: 1/2 cup your fav oil)
- 2 tbsp water
- ½ tsp vanilla
- 1½ cups (300g) sugar
- ½ cup (60g) powdered sugar, sifted if it's in a lumpy mood
- ⅔ cup (63g) cocoa powder, also sifted if it's feeling clumpy
- ¾ tsp salt
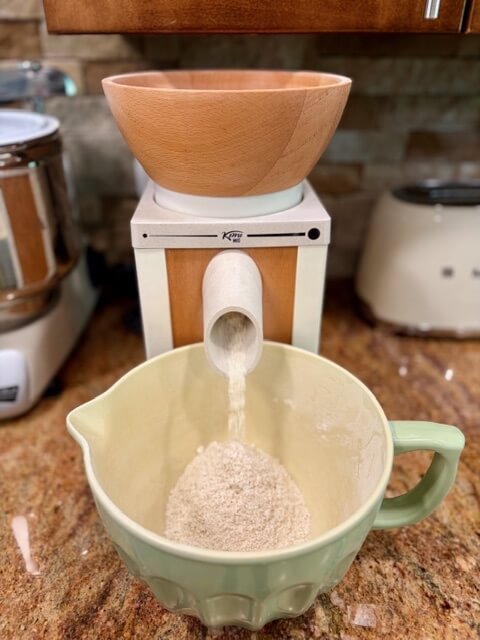
- ⅔ cup (110g) soft white wheat berries, ground nice and fine
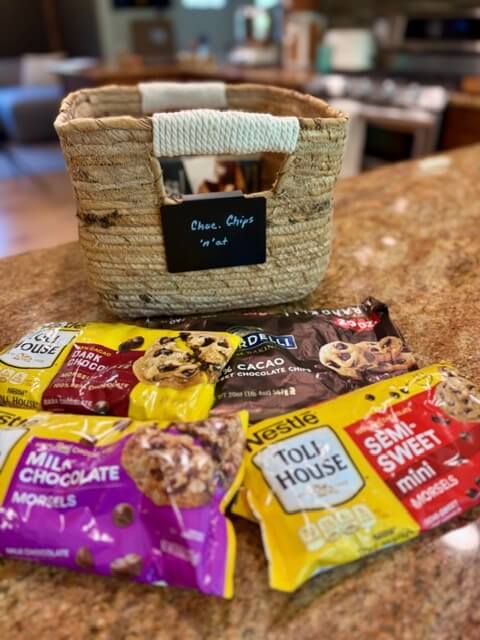
- ½ cup chocolate chips, measure with your heart or you can leave them out
- ¾ tsp espresso powder/instant coffee (optional... you won't taste it, but it will make your chocolate shine)
- Mix-ins (optional): Nuts, Oreos, M&M, Candy, PB Chips, Marshmallows, Dried Cherries, Etc.
Instructions
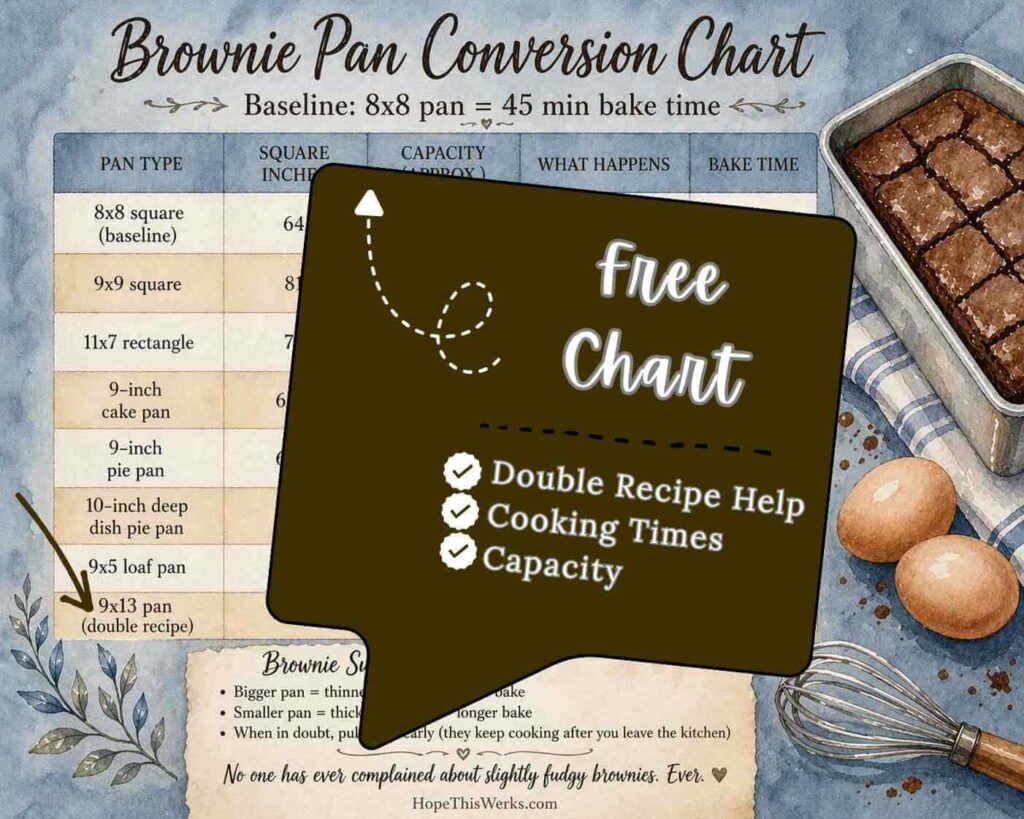
- Preheat the oven to 325°F. Spray an 8x8 baking dish with cooking spray. (Using a different size pan? You’ll need to adjust the bake time. Click for free conversion guide.)
- In a large mixing bowl, whisk together the eggs, oil(s), water, and vanilla until smooth.
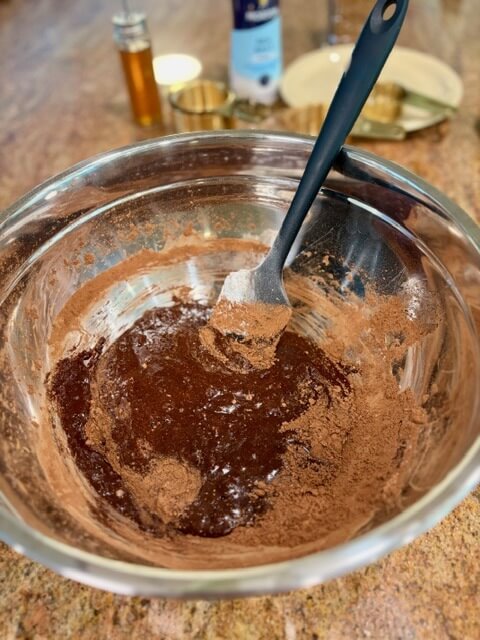
2 eggs, ¼ cup coconut oil, ¼ cup olive oil, 2 tbsp water, ½ tsp vanilla - Add the sugar, powdered sugar, cocoa powder,salt, and instant coffee (if using). Mix until everything is well combined and looking very chocolatey.
1 cup sugar, ½ cup powdered sugar, ⅔ cup cocoa powder, ¾ tsp salt, ¾ tsp instant coffee (if using) - Add the flour and chocolate chips (and any other mix-ins). Stir until just combined ... no need to overmix like you’re trying to impress someone. Let the batter rest for 30 minutes so the fresh milled flour can hydrate and do its thing.
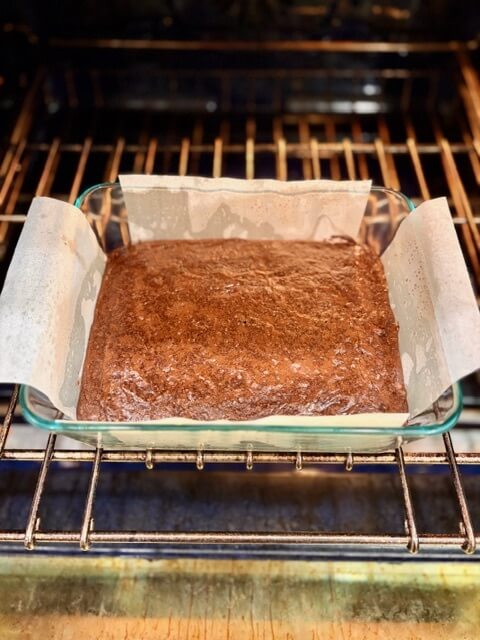
110g ground soft white wheat, ½ cup chocolate chips - Pour the batter into your prepared pan. It will be thick. This is normal. This is exactly what we want. Smooth the top with a spatula like you’re tucking it in.
- Bake for 40–48 minutes, or until a toothpick comes out with a few moist crumbs (not wet batter). Pro tip: slightly underbaked = fudgy heaven. Overbaked = brownie regret.
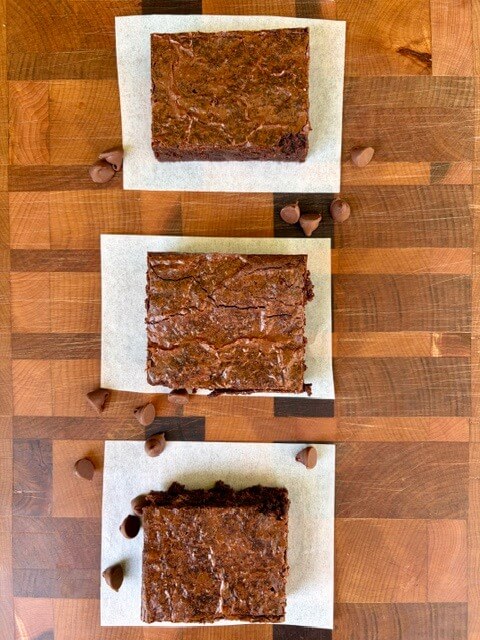
- Let the brownies cool completely (at least 2 hours) before slicing. I know. This is the hardest step. Stay strong.
Notes
- Eggs (forgot to plan ahead? same):
If you forgot to pull your eggs out of the fridge, don’t panic. Just submerge them in warm water for 10–15 minutes to bring them to room temperature. Or go ahead and use cold eggs ... it will be OK. - Sugar (sweetness dial):
You can reduce the granulated sugar down to 1 cup if you want things a little less sweet. (Still delicious. Still brownie.) - Ancient Grains (for the “I’m kinda fancy” bakers):
Yes, you can substitute ancient grains in this recipe. You can also mix them with soft white wheat ... this recipe is very flexible. I often use 50% spelt and 50% soft white with great results. (Translation: go ahead and feel like a rustic baking genius.) - Setting (important brownie wisdom):
When these come out of the oven, the center will look very gooey. That’s normal. Let them cool for about 2 hours so they can set up properly. They’ll keep firming up as they sit. (Translation: trust the process … and step away from the pan.) - Firmer Brownie (team chewy vs. team fudgy):
If you prefer a firmer brownie, store them in the fridge, and they’ll firm right up. - Storage (if they somehow last that long):
Store in an airtight container at room temp for up to 3 days… or freeze for future you. (Future you will be thrilled. Present you might eat them all first.) - Double (because one pan is never enough):
Yes, you can absolutely double this recipe. (Honestly, you probably should.) Here is a free guide to help you.
Yield: 9 Big Fudgy Brownies
Brownies with Store-Bought Flour
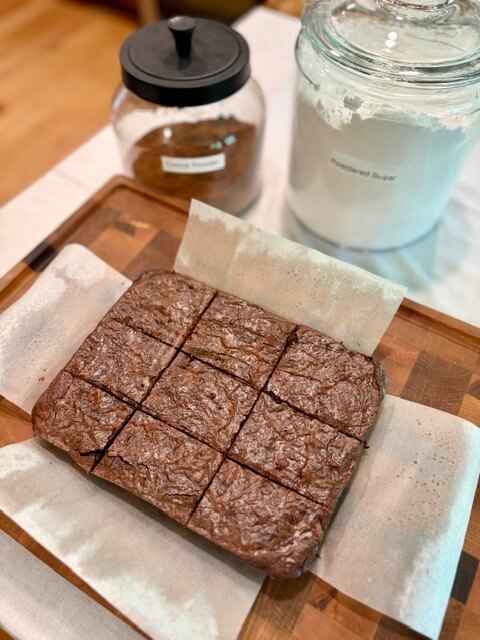
A perfect brownie made with store-bought flour ... fudgy with a rich chocolate flavor and that classic crackly top.
Ingredients
- 2 large eggs, room temperature
- ¼ cup (48g) coconut oil (melted) and ¼ cup (48g) olive oil (substitute: ½ cup your fav oil)
- 2 tbsp water
- ½ tsp vanilla
- 1½ cups (300g) sugar
- ½ cup (60g) powdered sugar, sifted if it's in a lumpy mood
- ⅔ cup (63g) cocoa powder, also sifted if it's feeling clumpy
- ¾ tsp salt
- ¾ cup all-purpose flour
- ½ cup chocolate chips, measure with your heart or you can leave them out
- ¾ tsp espresso powder/instant coffee (optional... you won't taste it, but it will make your chocolate shine)
- Mix-ins (optional): Nuts, Oreos, M&M, Candy, PB Chips, Marshmallows, Dried Cherries, Etc.
Instructions
- Preheat the oven to 325°F. Spray an 8x8 baking dish with cooking spray. (Using a different size pan? You’ll need to adjust the bake time. Click for free conversion guide.)
- In a large mixing bowl, whisk together the eggs, oil(s), water, and vanilla until smooth.
2 eggs, ¼ cup coconut oil, ¼ cup olive oil, 2 tbsp water, ½ tsp vanilla - Add the sugar, powdered sugar, cocoa powder, salt, and instant coffee (if using). Mix until everything is well combined and looking very chocolatey.
1 cup sugar, ½ cup powdered sugar, ⅔ cup cocoa powder, ¾ tsp salt, ¾ tsp instant coffee (if using) - Add the flour and chocolate chips (and any other mix-ins). Stir until just combined ... no need to overmix like you’re trying to impress someone.
¾ all-purpose flour, ½ cup chocolate chips - Pour the batter into your prepared pan. It will be thick. This is normal. This is exactly what we want. Smooth the top with a spatula like you’re tucking it in.
- Bake for 40–48 minutes, or until a toothpick comes out with a few moist crumbs (not wet batter). Pro tip: slightly underbaked = fudgy heaven. Overbaked = brownie regret.
- Let the brownies cool completely (at least 2 hours) before slicing. I know. This is the hardest step. Stay strong.
Notes
- Eggs (forgot to plan ahead? same):
If you forgot to pull your eggs out of the fridge, don’t panic. Just submerge them in warm water for 10–15 minutes to bring them to room temperature. Or go ahead and use cold eggs ... it will be OK. - Sugar (sweetness dial):
You can reduce the granulated sugar down to 1 cup if you want things a little less sweet. (Still delicious. Still brownie.) - Setting (important brownie wisdom):
When these come out of the oven, the center will look very gooey. That’s normal. Let them cool for about 2 hours so they can set up properly. They’ll keep firming up as they sit. (Translation: trust the process … and step away from the pan.) - Firmer Brownie (team chewy vs. team fudgy):
If you prefer a firmer brownie, store them in the fridge, and they’ll firm right up. - Storage (if they somehow last that long):
Store in an airtight container at room temp for up to 3 days… or freeze for future you. (Future you will be thrilled. Present you might eat them all first.) - Double (because one pan is never enough):
Yes, you can absolutely double this recipe. (Honestly, you probably should.) Here is a free guide to help you.


6 responses to “Easy Fresh Milled Flour Brownies (or store-bought flour)”
Update: I made these brownies and they are everything you want brownies to be but better!!! Thank you for changing my brownie game!
Glad they delivered … welcome to the fudgy side!
These look stunning! Will be using this next time I make brownies!
Thank you so much! I hope they become your new go-to brownie … fair warning though, they tend to disappear faster than expected!
I am going to make these right now. I love that I can use freshly milled flour. And I love that classic crispy top and fudge center. I’m so excited to try these.
Yesss, this is your moment. Crispy top, fudgy center, fresh milled magic … report back if they even make it to the cooling rack!