

We take our dog everywhere. We take him on a bike, in our van, and we even take our dog on a boat. Otis is our dog. He’s been with us for a while. So long of a “while” that I am not sure he will still be with us by the time I am finishing writing this post. He’s a 16 year old Cairn Terrier. He’s been called:
- So ugly he’s cute;
- Trooper (with an Eastern European accent);
- Rocket;
- A Scotty;
- Toto (of course) and
- A fox or a little wolf.
Call him what you will, but . . . (wait for incoming dad joke) . . . these days you sure can’t call him “late for dinner”. We love him. In his “home stretch” we seem to be finding more and more ways to help him live his best life.

The Boat
We have a tiny little Walker Bay 8, which is a go cart of a boat. They don’t make these anymore, but they should. These little boats can accommodate a small daggerboard (keel) and even a small mast and sail. They are light and durable and fun to use. But, can you accommodate a dog on the boat?
We often strap this boat to the back of our van and use it on whatever waterways we can put it on. If the van is our “escape pod” this is our “escape pod” from the van.
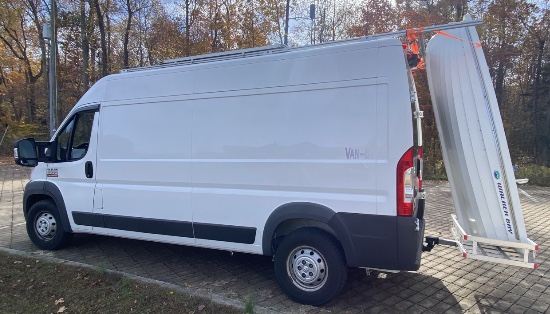
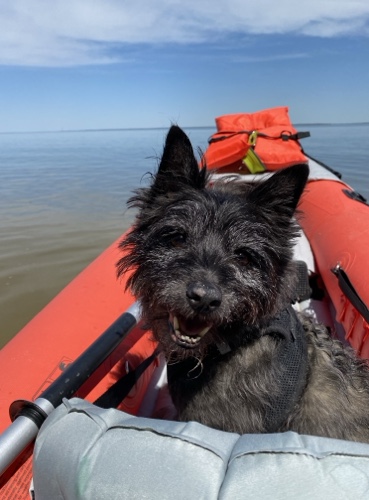
We have a little electric trolling motor that takes us anywhere we want to go. Overall, this boat was an upgrade from our inflatable kayak days and a Porta-Bote that caught on fire while we were driving. Long story . . . actually not that long – we had it on a hitch mount and that caught on fire and the boat melted. Still not sure how that happened. Flames in a Pennsylvania Turnpike tunnel might not be as fun as you’d think. However, it seemed like it was exciting for the tunnel emergency crew.
The Problem
Anyway, this boat is great, but Otis can’t seem to find a good spot to perch while we are underway. We’ve had him just on the front seat with floating cushions, that was a mess. We tried putting him in an upside-down footstool. We lined it with a towel, strapped it down with some sketchy bungie cords. It was nearly impossible to get in or out of. It did work . . . once we figured out how to perform origami on a small dog. He seemed to miss the air-ride comfort of the kayaks.
The Solution
What we needed was a platform, nay, a poop-deck for the dog, but in the front of the boat. Poop decks are normally in the back – but that’s where I need to sit, because I have to drive and I weigh the most.
Fun fact, I just read that this term comes from the Latin word “Puppis” which seems to refer to the stern or back of the boat where the leaders sit. I’m not sure how to pronounce that word in Latin. Even so, if asked, I’m totally going with “puppies”. (Maybe this could be closer to a crow’s nest, but that wouldn’t have been as funny to talk about.)
So, while I was mowing the lawn one Saturday, I started to imagine how we could build this. I knew that we could incorporate some of the hole in the front seats where the little mast would go. I ran the idea by Winnie and she was all in.
The Throne Design
After finishing work for the day on the following Saturday, I went “shopping” first in my shed to see what plumbing pieces and other materials I had that might help me get started. Turns out this was a good fit for 1.5 inch PVC Schedule 40 pipe, an old piece of plywood that my mom gave me for something else that never ended up happening, and some extra PVC/Vinyl trim pieces that I had hanging around from another weekend shed spruce-up project. All I needed was a pool noodle, a PVC cap and a few other pieces to use for connecting a couple of beach chair umbrellas. You’ll see what I mean – unless you are like “this guy is nuts and I’m bored!” and you bail out right now. But don’t leave, remember this is about my doggie!
A project should start by saying, “Once I got all my materials together.” But that’s not really how I work, unless I want to never start. Let’s say that I did this in stages.
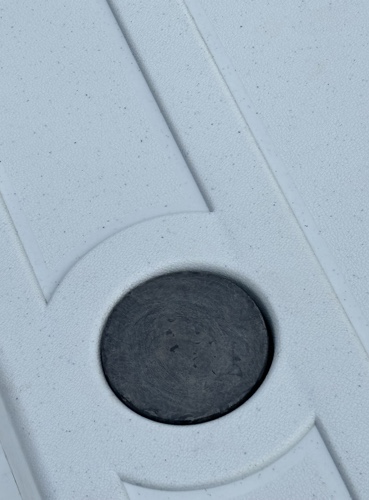
Here’s the spot in the boat that I want to put the seat:

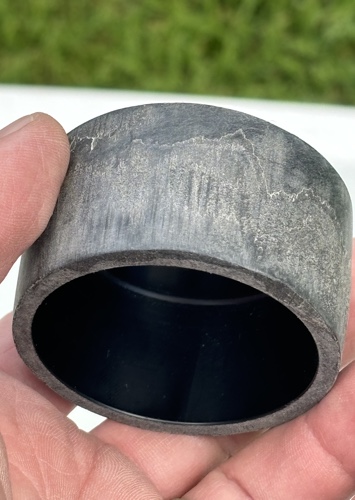
Once I had a general concept for the PVC pipe, I wanted to make a run to the local hardware big box store. I couldn’t wait just to spend 3 or maybe 4 hours looking around at all the PVC end-caps. My plan was to start at the bottom of the mast attachment location with a piece that went from 2 inches to 1.5 inches and run a pipe up to a cap that would sit basically flush with the bottom of the seat.
After looking through the many options, I found there was a flat cap option in black plastic that would fit well. Flat would match better to the bottom of the plywood and would allow simpler attachment.
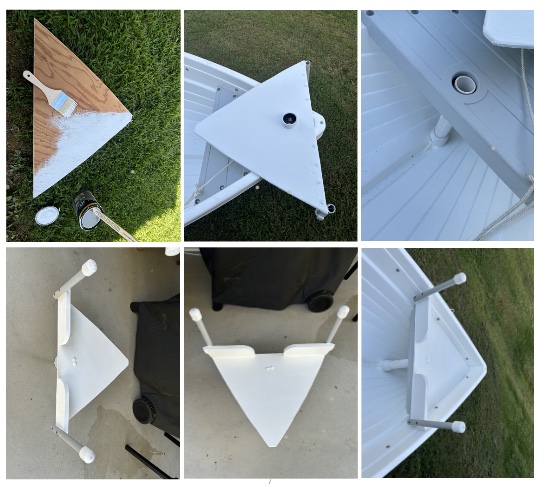
For the seat base, I needed to make a template of the spot where I wanted to put the plywood base. I used a piece of cardboard over the top of the boat, hoping that the same angles would basically apply just a few inches down where the seat actually was. It worked and only required a bit of trimming.
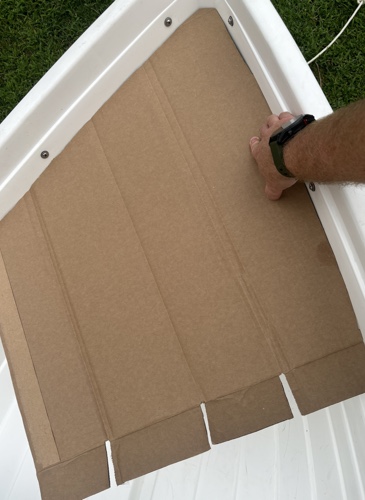
I then transferred this to the plywood. Rough cut it out using my track saw and cleaned it up on the bandsaw. I had to run a few test fits to get the fit to be acceptable. It didn’t have to be perfect, it just needed to work.
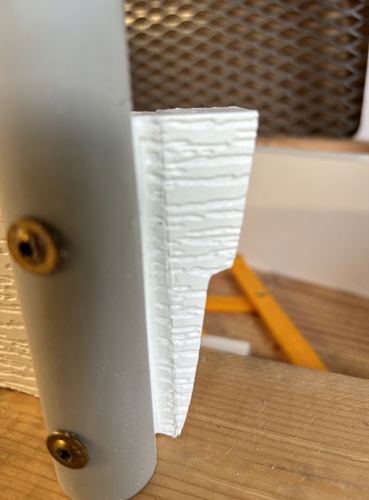
Then I needed to decide whether I wanted walls on all sides or just the back and what would that look like. I determined that the best plan would be to make walls on the back to keep Otis from sliding out, but also not all the way across so he could get in and out of the sitting area. I trimmed the outside edges of the walls with the saw so they followed the angle of the wood.
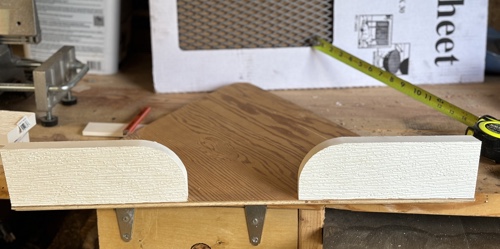
We had just finished a project to trim out our shed doors with PVC trim and there were some great scrap pieces which seemed perfect for the back wall of the new throne. I picked out some screws I had laying around and pre-drilled some holes mostly to avoid splitting the plywood. Washers would also be important to help preserve the wood should there be significant motion. ALERT: Sometimes I over-engineer stuff (and then it catches on fire on the Turnpike, hmmm).
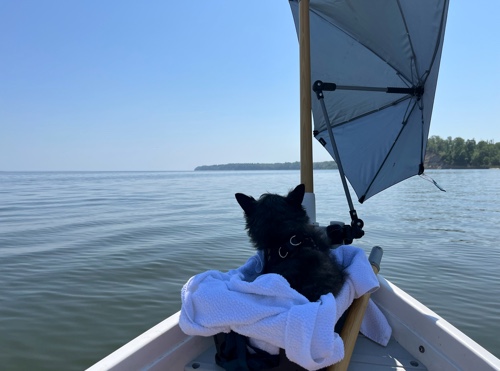
The next key step was to consider how to attach something to hold up the umbrellas. In one of the pictures at the top of this post you can see what the umbrella looks like. I knew from prior experience that I could probably use the side of the boat to attach these to, but that was somewhat unreliable. Back to shopping in my own plumbing “extras” box and I found a few end caps that seemed to fit well on some scrap PVC electrical conduit tubes. You’ll see those in the pictures later.
Assembling the Bits and Bobs
My goal here was to ultimately put it all together, but I needed to rough fit everything, or at least the key parts, like the main platform and the back fence or wall. So, I didn’t take a picture of this, because I am an idiot. But mostly because I messed up a little. The platform fit really well, but the walls did not account for the angle of the sides of the boat. Really this didn’t matter. Otis would not have cared, but I cared.
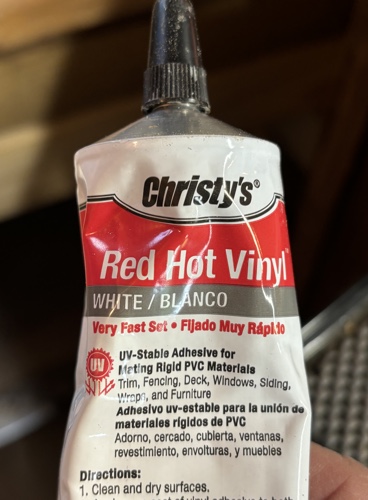
Enter Christy. OK, at least Christy’s Red Hot Vinyl. This stuff is like molten PVC. It has the viscosity of glue but dries hard and is great to use with vinyl trim applications. I cut some pieces to account for the angles and the inside of the fake boards on the hull and glued them on with this stuff. If you ever work with PVC / Vinyl trim boards, you must buy this stuff. Here’s a link: https://amzn.to/3Mv0hZD. (That’s my affiliate link – and if you buy something we’ll earn commission.) I have used this stuff to help me create really weird pieces of trim in my van build. It may be toxic or something, but is life really worth living without being able to use this stuff? Nope.
After a re-fit, we had success. With that problem solved, I moved on to the next step, which was to attach the cap for the PVC to the bottom of the board. I set the board in place and made a pencil mark from underneath to mark the spot. Then it was time for another test fit. BINGO!
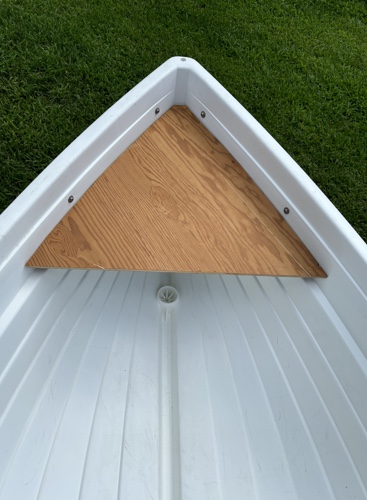
I primed and painted the board and screwed on the walls with the umbrella attachments. I used some leftover Flex Seal (for grip/waterproofing) and put some caulk on the joints and around the edge of the plywood, for added protection from water and to add a grip texture to help hold the board against the hull (not needed, just doing it for fun).
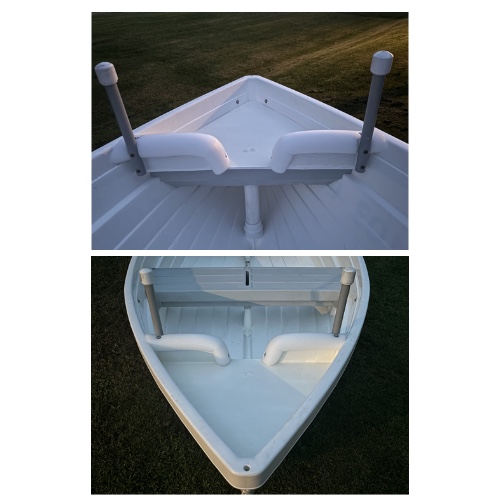
Final Version
The last piece we added and shown in one of the pics below, is a yoga mat section as a cushion and to give some extra grip. It looks great.

Did it Work?
This was great. Not perfect, but really what was needed to reasonably get this dog on a boat. One problem was that Otis refused to understand the dangers of water and the need to be securely in the boat. I tried to persuade him about this on one occasion . . . let’s just say, he got wet. So, I guess we didn’t always keep the dog on a boat. Oops!
OK, here’s another ancillary problem – wind. Unfortunately I can’t control wind, but I have learned that with this tiny little boat and with both umbrellas attached, heading into a decent wind gust won’t result in forward progress. Finding ourselves in wind of such strength is simply not the norm, but I do know now that when it happens, we have to adjust accordingly.
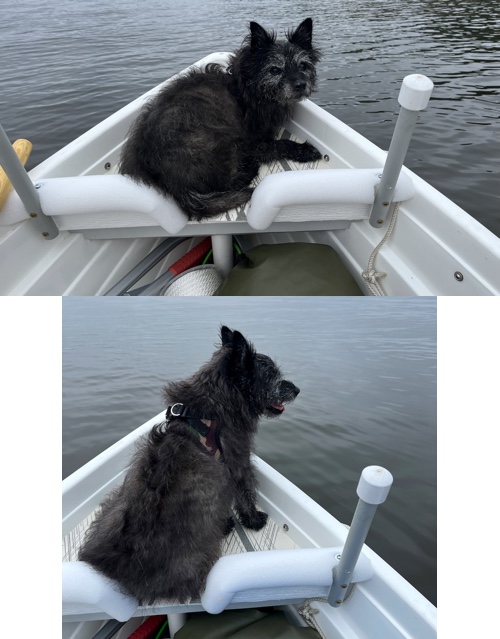
Otherwise, as the video below makes clear, when the seas are glassy, Otis is able to ride in style.
All in all, I’d consider this a success. The ultimate point of sharing this is just to show you a little project that was done based (mostly) using stuff I had. Even if the boat is tiny you can get a dog on a boat. There’s no real method here, just the creative spirit on display to encourage you to get out there and make something.


2 responses to “Dog on a Boat – Where to Sit?”
Your dog is cute!
Aw, thank you!