


Yield: 15 fluffy rolls
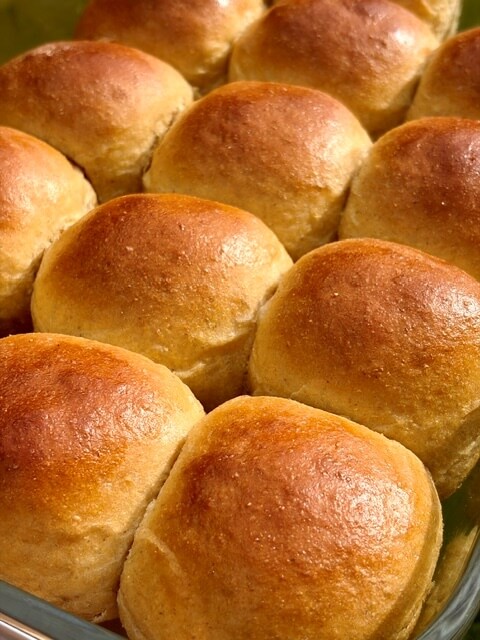
Hawaiian Rolls with Fresh Milled Flour (yeast)
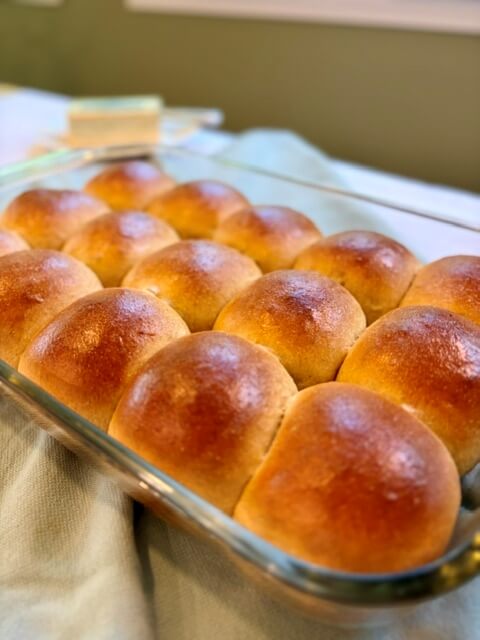
Soft, fluffy Hawaiian rolls with a buttery flavor, light airy crumb, and golden tops. Made with freshly milled grain ... this easy yeast recipe is simple, reliable, and family-approved.
Ingredients
Preferment Sponge
Dough
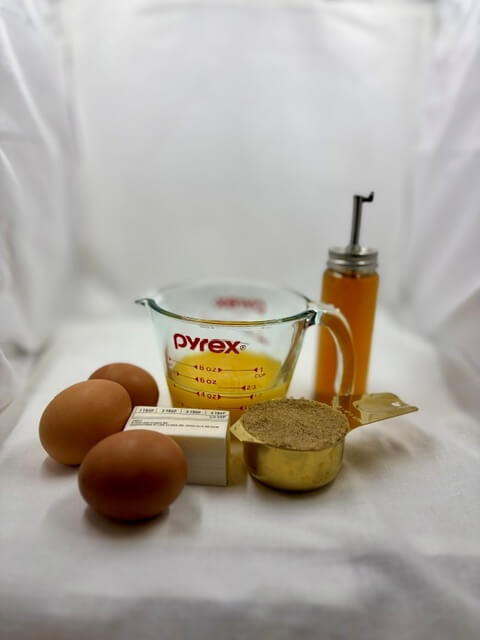
- ½ cup (125g) pineapple juice (substitute: orange juice + ½ tsp lemon juice)
- 4 tablespoons butter, softened
- ½ cup (105g) brown sugar, packed (light or dark ... both work!) *For less-sweet rolls, feel free to reduce to ⅓ cup (70g).
- 2 large eggs plus 1 egg yolk (save the white ... you want it for brushing later)
- 1 teaspoon vanilla extract (here's my recipe for homemade vanilla)
- 2 cups (405g) hard white wheat berries, finely ground
- 1½ teaspoons salt
Instructions
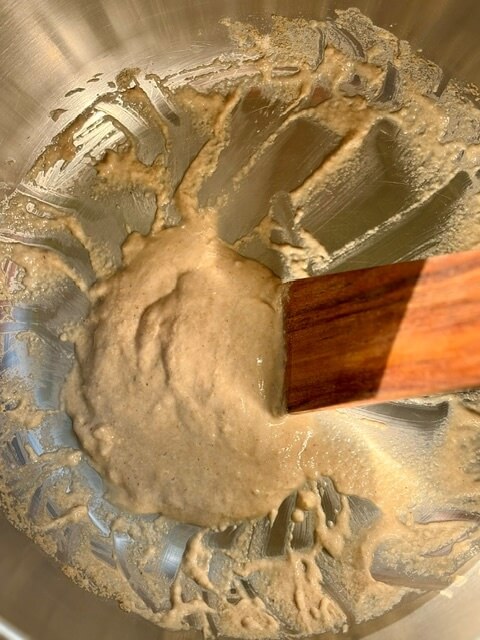
- Preferment Sponge: Mix all sponge ingredients in your stand mixer bowl. Stir, then let it chill out for 15 minutes.
⅓ cup freshly ground flour, 1 tbsp yeast, 3 tbsp water - Start the Dough: Add pineapple juice, butter, brown sugar, eggs + yolk, and vanilla. Mix until happy.
½ cup pineapple juice, ½ cup brown sugar, 4 tbsp butter, 2 eggs + 1 yolk, 1 tsp vanilla - Dry Ingredients: Add flour (you may not need it all). You want a soft, sticky dough. Add salt and mix to combine.
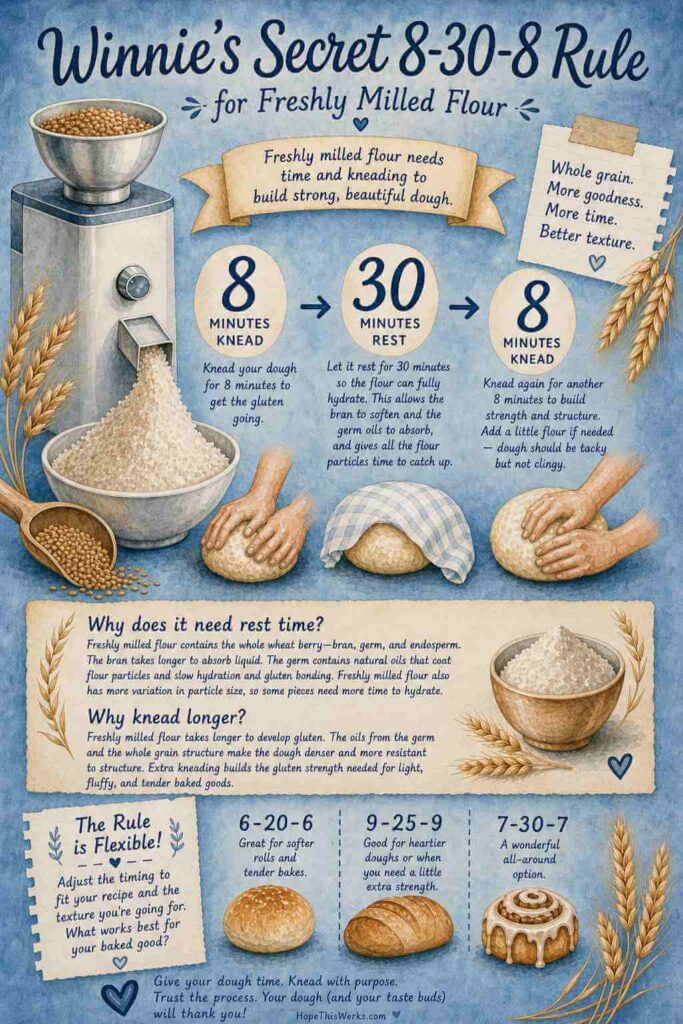
405g hard white wheat berries ground, 1½ tsp salt - Secret Kneading Trick: Knead for 8 minutes (to get the gluten started) → Let it rest for 30 minutes (for the freshly milled flour to hydrate) → Knead for another 8 minutes (to get the gluten happy ... if your dough is too sticky, then you can add flour a wee little bit at a time).
- First Rise: Cover and let rise until puffy, but not quite doubled in size (about 45–90 minutes).
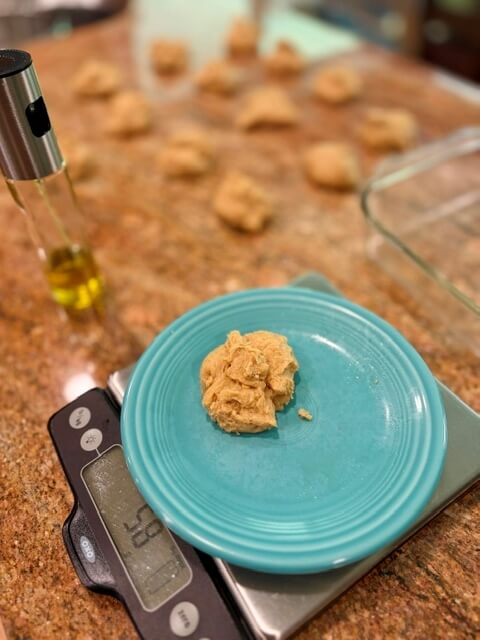
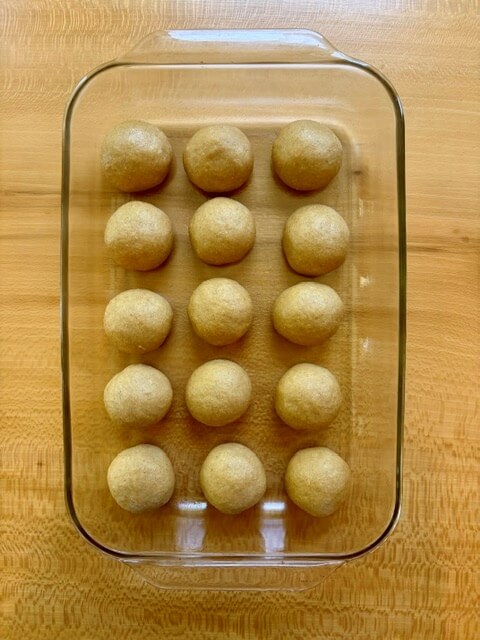
- Shape It: Grease a 9x13-inch pan. Spritz your countertop with oil. Divide the dough into 15 pieces, roll into balls, and tuck them into the pan in 3 cozy rows of 5.
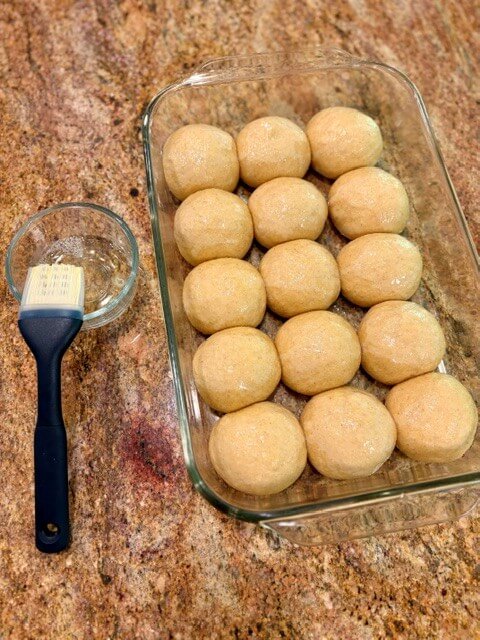
- Second Rise: Cover and let rise until puffy and touching (1 hour-ish). Preheat oven to 350°F.
- Egg Wash: Mix egg white + 1 tbsp water. Brush tops.
- Oven Time: Bake for 20–25 minutes, until golden and/or the inside reaches 190°F.
- Cool & Eat: Let cool slightly on rack … then try not to eat three immediately.
Notes
- Heads Up: This is a very wet, sticky dough ... that’s what gives you soft, fluffy rolls. If it’s acting a little wild, lightly water or oil your hands and counter to make shaping easier (no flour fight required).
- Can I make the dough ahead of time? Yes! After shaping the rolls, cover the pan and refrigerate overnight. The next day, let the rolls sit at room temperature until puffy before baking.
- Storing: Wrap leftovers well and keep at room temperature for a few days. For longer storage, freeze and thaw as needed.
- Can I make hamburger or hot dog buns with this dough? Yes! Just click this link for shaping and size instructions. Same dough ... just a different shape and a little extra fun.
Yield: 15 fluffy rolls
Hawaiian Rolls with Store-Bought Flour (yeast)
Soft, fluffy Hawaiian rolls with a buttery flavor, light airy crumb, and golden tops. This easy yeast recipe is simple, reliable, and family-approved.
Ingredients
Preferment Sponge
- ¼ cup (30g) all-purpose flour
- 1 tablespoon yeast (active dry or instant)
- 3 tablespoons warm water
Dough
- ½ cup (125g) pineapple juice (substitute: orange juice + ½ tsp lemon juice)
- 4 tablespoons butter, softened
- ½ cup (105g) brown sugar, packed (light or dark ... both work!) *For less-sweet rolls, feel free to reduce to ⅓ cup (70g).
- 2 large eggs plus 1 egg yolk (save the white ... you want it for brushing later)
- 1 teaspoon vanilla extract (here's my recipe for homemade vanilla)
- 2¾ cups (330g) all-purpose flour
Instructions
- Preferment Sponge: Mix all sponge ingredients in your stand mixer bowl. Stir, then let it chill out for 15 minutes.
¼ cup flour, 1 tbsp yeast, 3 tbsp water - Start the Dough: Add pineapple juice, butter, brown sugar, eggs + yolk, and vanilla. Mix until happy.
½ cup pineapple juice, ½ cup brown sugar, 4 tbsp butter, 2 eggs + 1 yolk, 1 tsp vanilla - Dry Ingredients: Add flour (you may not need it all). You want a soft, sticky dough. Add salt and mix to combine.
2¾ cups all-purpose flour, 1½ tsp salt - Kneading: Knead on medium-high speed for 8 minutes (if your dough is too sticky, then you can add flour a wee little bit at a time).
- First Rise: Cover and let rise until puffy, but not quite doubled in size (about 45–90 minutes).
- Shape It: Grease a 9x13-inch pan. Spritz your countertop with oil. Divide the dough into 15 pieces, roll into balls, and tuck them into the pan in 3 cozy rows of 5.
- Second Rise: Cover and let rise until puffy and touching (1 hour-ish). Preheat oven to 350°F.
- Egg Wash: Mix egg white + 1 tbsp water. Brush tops.
- Oven Time: Bake for 20–25 minutes, until golden and/or the inside reaches 190°F.
- Cool & Eat: Let cool slightly on rack … then try not to eat three immediately.
Notes
- Heads Up: This is a very wet, sticky dough ... that’s what gives you soft, fluffy rolls. If it’s acting a little wild, lightly water or oil your hands and counter to make shaping easier (no flour fight required).
- Can I make the dough ahead of time? Yes! After shaping the rolls, cover the pan and refrigerate overnight. The next day, let the rolls sit at room temperature until puffy before baking.
- Storing: Wrap leftovers well and keep at room temperature for a few days. For longer storage, freeze and thaw as needed.
- Can I make hamburger or hot dog buns with this dough? Yes! Just click this link for shaping and size instructions. Same dough ... just a different shape and a little extra fun.


5 responses to “Hawaiian Rolls with Fresh Milled Flour (or store flour) – Easy Yeast Recipe”
Winnie! I love that wooden spatula that I see you use in you photos. Where did you get it? Can’t wait to taste these rooks! Beautiful video.
—Missy
Hawaiian rolls look amazing. Oh, I envy the smell of them baking.
Thank you! If only I could send the smell through the screen…
These are my family’s favorite bread item ever. I can’t wait to surprise them with homemade ones!
Your family’s about to be very impressed with you!