
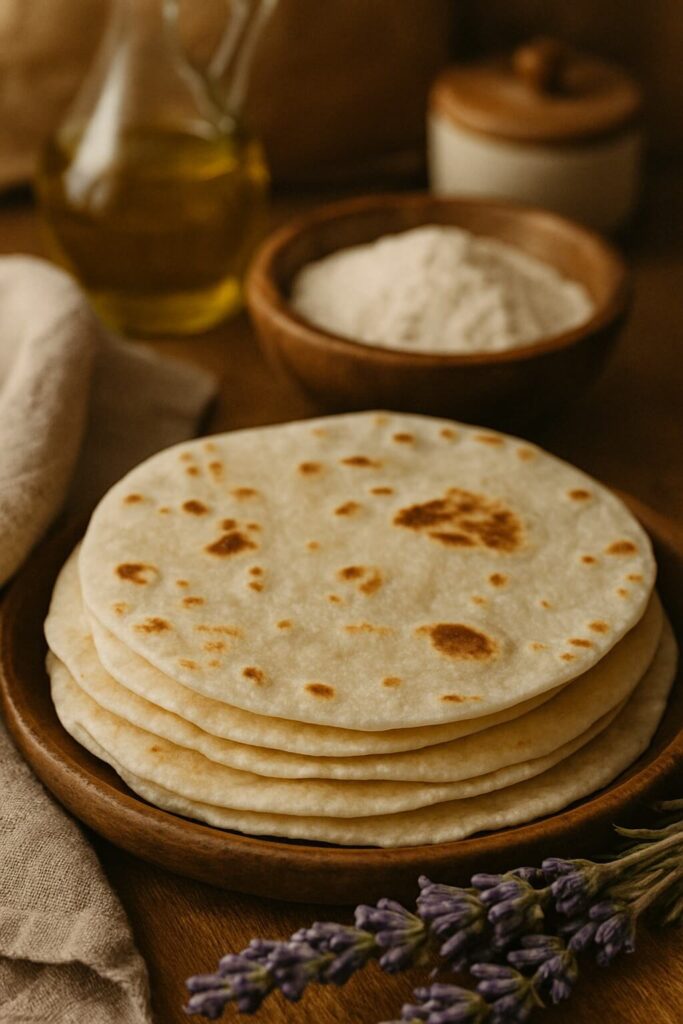

Homemade Tortillas

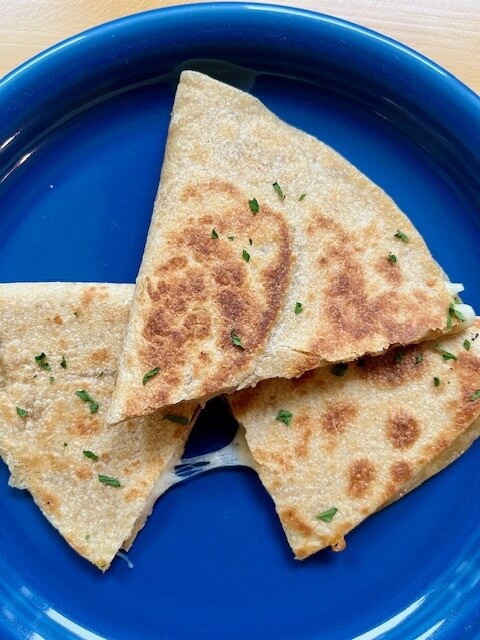
Soft, chewy, and made with simple ingredients ... these homemade tortillas are here to rescue your meals from boring carbs. Tacos? Covered. Pita stand-in? You bet. Naan imposter? Oh yes. Wraps, quesadillas, or just hot off the pan with butter? Absolutely. Basically, they're your new favorite sidekick.
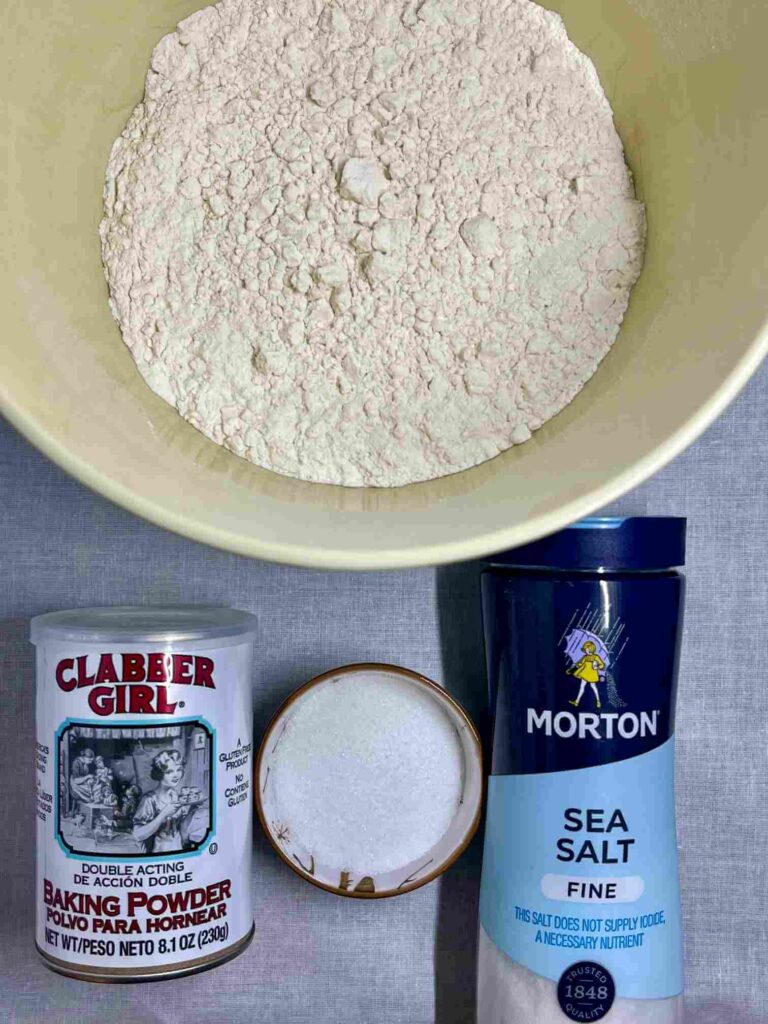
Ingredients
- 1½ cups (180g) flour (bread or all-purpose ... choose your own adventure)
- 1½ cups (180g) whole wheat flour
- 1½ tsp salt
- 1 tsp sugar
- 2 tsp baking powder
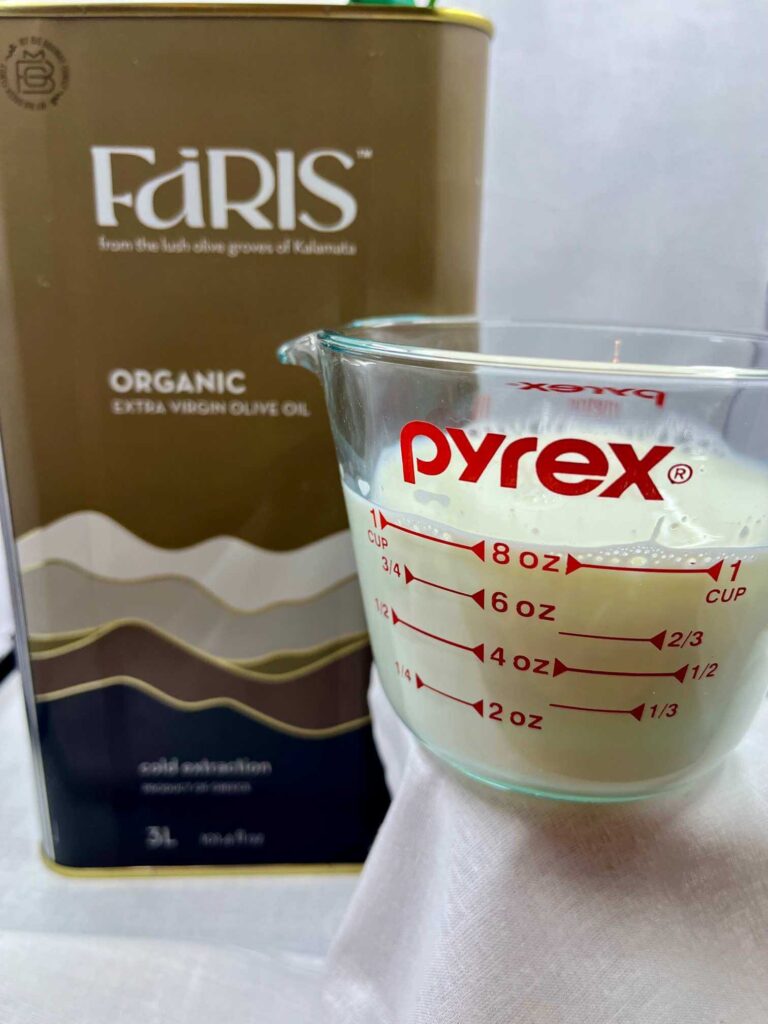
- 3 tbsp olive oil (substitute: butter or lard)
- 1 cup warm milk (I microwaved it at 50% power for 90 seconds ... landed right at 110°F! You can use water instead if that’s more your vibe.)
Instructions
- Mix it up: In a medium bowl, mix the dry ingredients together. (1½ cups flour, 1½ cups whole wheat flour, 1½ tsp salt, 1 tsp sugar, 2 tsp baking powder). Or go all in ... 100% white flour for a classic vibe, or 100% whole wheat if you're feeling wholesome.
- Add the Wet Stuff: Pour in the warm milk (or water) and oil. Stir it up until it starts looking like dough. (1 cup warm milk, 3 tbsp olive oil)
- Knead it: Give it a good knead for 8 minutes, or until the dough is smooth and bouncy like your favorite ’90s jam. While you are kneading, if you find ... the dough is too sticky? Add a sprinkle of flour. Too dry? A splash more milk. Trust your gut. Remember: the dough will continue to hydrate as it rests, so it's better to lean slightly wet than dry (same for most houseplants).
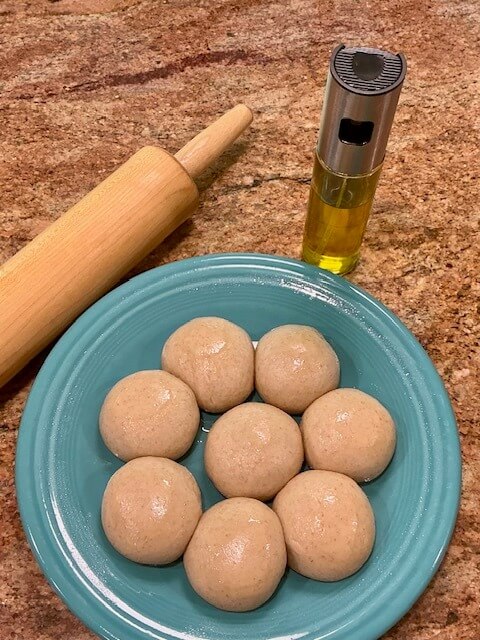
- Divide and rest: Cut that dough into equal-ish sized pieces (if you are the precise type ... aim for 75-100 grams each). Roll them into cute little balls and let them hang out for 30 minutes ... yes, dough needs naps too.
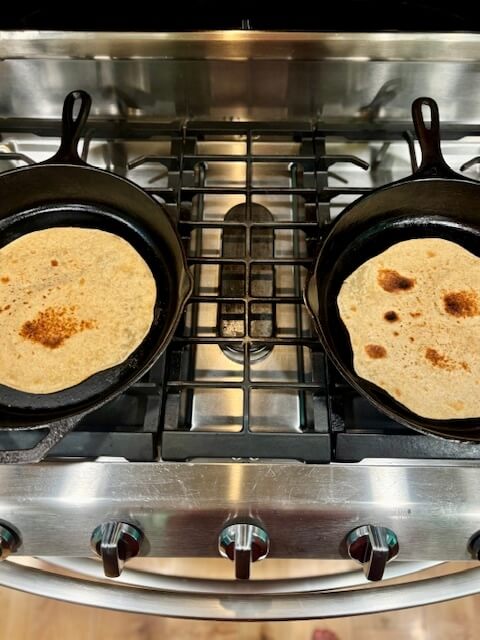
- Heat things up: Get your cast iron pan hot over medium heat. It needs to heat up for 5-10 minutes to get it hot enough to have a little smoke coming off the pan. Add a little spritz of oil. Pro tip: Use two pans if you can. It's faster and feels like a tortilla party.
- Roll it out: Lightly oil your counter (no sticky situations here), then roll each piece into a nice round-ish circle. We’re aiming for rustic, not geometry class.
- Cook 'til bubbly: Toss a tortilla onto the hot pan. Cook until you see bubbles and golden brown spots (about 45–60 seconds).
- Flip and finish: Flip it! The second side cooks faster ... in about 30 seconds. Don’t wander off!
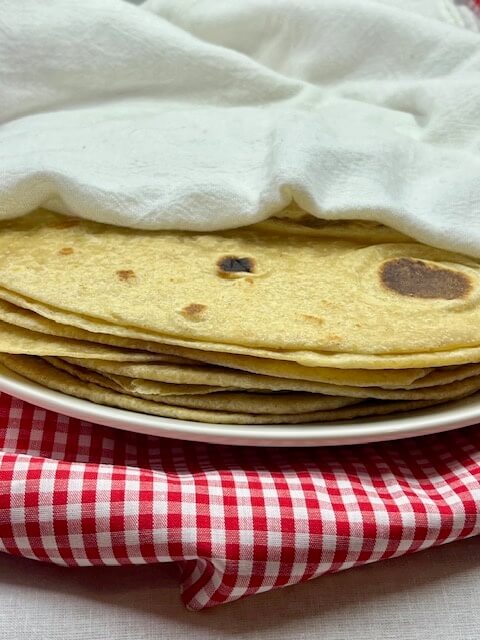
- Stack and steam: As they come off the pan, stack those beauties and keep them covered with a tea towel ... so they stay soft and cozy.
Notes
Tortilla Troubleshooting & FAQ
Tortillas taking forever to cook? Crank up that heat. Your pan’s probably napping.
Tortillas cooking too fast (or burning)? Turn the heat down, chef. Or double-check your rolling ... too thick or too thin can mess with cook time. (Good news: you can reroll them.)
How long do they last?
- On the counter: a few days (covered, of course)
- In the fridge: about a week
- In the freezer: a few months (hello, meal prep hero!)
Can I make them ahead? Yes! After dividing the dough, pop the dough balls in the fridge for up to 2 days. Let them come to room temperature for about an hour before rolling and cooking.
What can I make with them? Oh, just everything: burritos, wraps, quesadillas, pinwheels, pizzas, breakfast burritos ... Make them a little thicker for a naan-style side, or swap them in for pita. You can even slice, oil, salt, and bake them into crunchy pita chips. Here is the recipe for pita (secretly tortilla) chips.
Do I need a tortilla press? Nope. Save your money. I actually prefer using a rolling pin ... plus, it’s oddly satisfying.
Recommended Products
As an Amazon Associate and member of other affiliate programs, I earn from qualifying purchases.


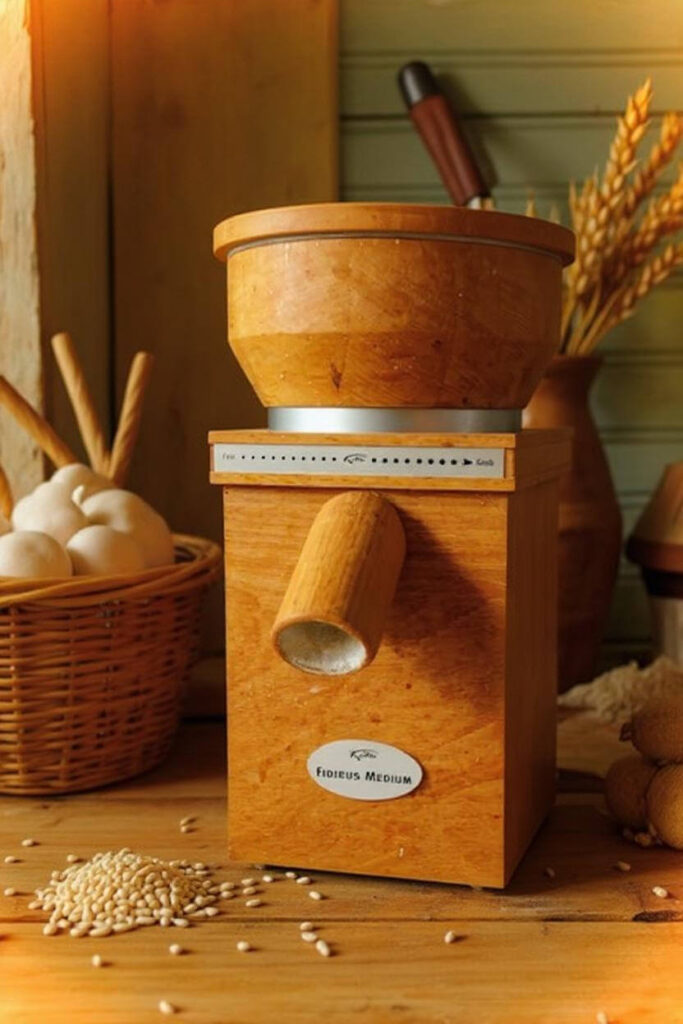
Fresh Milled Homemade Tortillas
Soft, chewy, and full of rich, nutty flavor ... these tortillas are made with 100% fresh milled flour for the ultimate from-scratch experience. You can have warm, wholesome tortillas on the table in no time. Bonus: they’re freezer-friendly and make killer chips the next day.
Ingredients
- 2 cups (415g) hard white wheat berries, ground finely (or a mix of hard red, khorasan/Kamut, etc. - choose your own adventure)
- 1½ tsp salt
- 1 tsp sugar
- 2 tsp baking powder
- 3 tbsp olive oil (substitute: butter or lard)
- 1 cup warm milk (I microwaved it at 50% power for 90 seconds ... landed right at 110°F! You can use water instead if that’s more your vibe.)
Instructions
- Mix it up: In a medium bowl, mix the dry ingredients together. (2 cups ground wheatberries, 1½ tsp salt, 1 tsp sugar, 2 tsp baking powder) ... you can use a mix of hard white, hard red, khorasan/kamut, etc.)
- Add the Wet Stuff: Pour in the warm milk (or water) and oil. Stir it up until it starts looking like dough. (1 cup warm milk, 3 tbsp olive oil)
- Knead it: Give it a good knead for 8 minutes. Remember: fresh milled flour takes a long time to hydrate ... it will continue to hydrate as it rests, so it's better to lean slightly wet than dry (same for most houseplants). Rest it: let your fresh milled flour rest for 30 minutes. Knead again: Knead for another 8 minutes.
- Divide and rest: Cut that dough into equal-ish sized pieces (if you are the precise type ... aim for 75-100 grams each). Roll them into cute little balls and let them hang out for 30 minutes ... yes, the dough needs a second nap.
- Heat things up: Get your cast iron pan hot over medium heat. It needs to heat up for 5-10 minutes to get it hot enough to have a little smoke coming off the pan. Add a little spritz of oil. Pro tip: Use two pans if you can. It's faster and feels like a tortilla party.
- Roll it out: Lightly oil your counter (no sticky situations here), then roll each piece into a nice round-ish circle. We’re aiming for rustic, not geometry class.
- Cook 'til bubbly: Toss a tortilla onto the hot pan. Cook until you see bubbles and golden brown spots (about 45–60 seconds).
- Flip and finish: Flip it! The second side cooks faster ... in about 30 seconds. Don’t wander off!
- Stack and steam: As they come off the pan, stack those beauties and keep them covered with a tea towel ... so they stay soft and cozy.
Notes
Tortilla Troubleshooting & FAQ
Tortillas taking forever to cook? Crank up that heat. Your pan’s probably napping.
Tortillas cooking too fast (or burning)? Turn the heat down, chef. Or double-check your rolling ... too thick or too thin can mess with cook time. (Good news: you can reroll them.)
How long do they last?
- On the counter: a few days (covered, of course)
- In the fridge: about a week
- In the freezer: a few months (hello, meal prep hero!)
Can I make them ahead? Yes! After dividing the dough, pop the dough balls in the fridge for up to 2 days. Let them come to room temperature for about an hour before rolling and cooking.
What can I make with them? Oh, just everything: burritos, wraps, quesadillas, pinwheels, pizzas, breakfast burritos ... Make them a little thicker for a naan-style side, or swap them in for pita. You can even slice, oil, salt, and bake them into crunchy pita chips. Here is the recipe for pita (secretly tortilla) chips.
Do I need a tortilla press? Nope. Save your money. I actually prefer using a rolling pin ... plus, it’s oddly satisfying.
Recommended Products
As an Amazon Associate and member of other affiliate programs, I earn from qualifying purchases.


12 responses to “How to Make Whole Wheat Tortillas (optional: fresh milled flour)”
You are a genius! Putting olive oil on the counter to roll them out… game changer! I kept trying to make homemade tortillas and even bought a press. They were just not coming out. Thank you, thank you!!
Right?! I’m so glad the oil trick worked for you … enjoy those perfectly round(ish) homemade tortillas!
I’ve been doing something wrong with my tortillas! This one looks so much easier to follow, now I won’t have to buy those nasty store tortillas! Thanks!
Glad to help you escape the cardboard aisle at the store!
Winnie, your vid was great and made the process look easy. I am not quite ready to jump into the milled flour world, but the day may come. Thanks for all the recipes you that have configured for those of us who still buy our stuff off the shelves.
Haha, no worries … fresh milled flour isn’t a requirement for delicious tortillas. I’ll keep churning out recipes for both the grind-curious and the grocery faithful!
Well, that looks easy peasy. Thanks for the step by step. I love that you give options for other flours and other pans.
Yay! I’m so glad it looks easy-peasy … that’s the goal! Thanks for reading and taking the time to leave such a kind comment!
As a consumer of the tortillas made in this recipe with fresh milled flour, I can say, “thank you, Ma’am. May I have another?”
Haha! You’re welcome—and yes … you may absolutely have another (and another… and maybe a few with some melted cheese while you’re at it).
Love how approachable your site makes homemade tortillas seem! I’m working up the courage to try it myself.
You’ve got this … even lopsided tortillas still taste amazing!